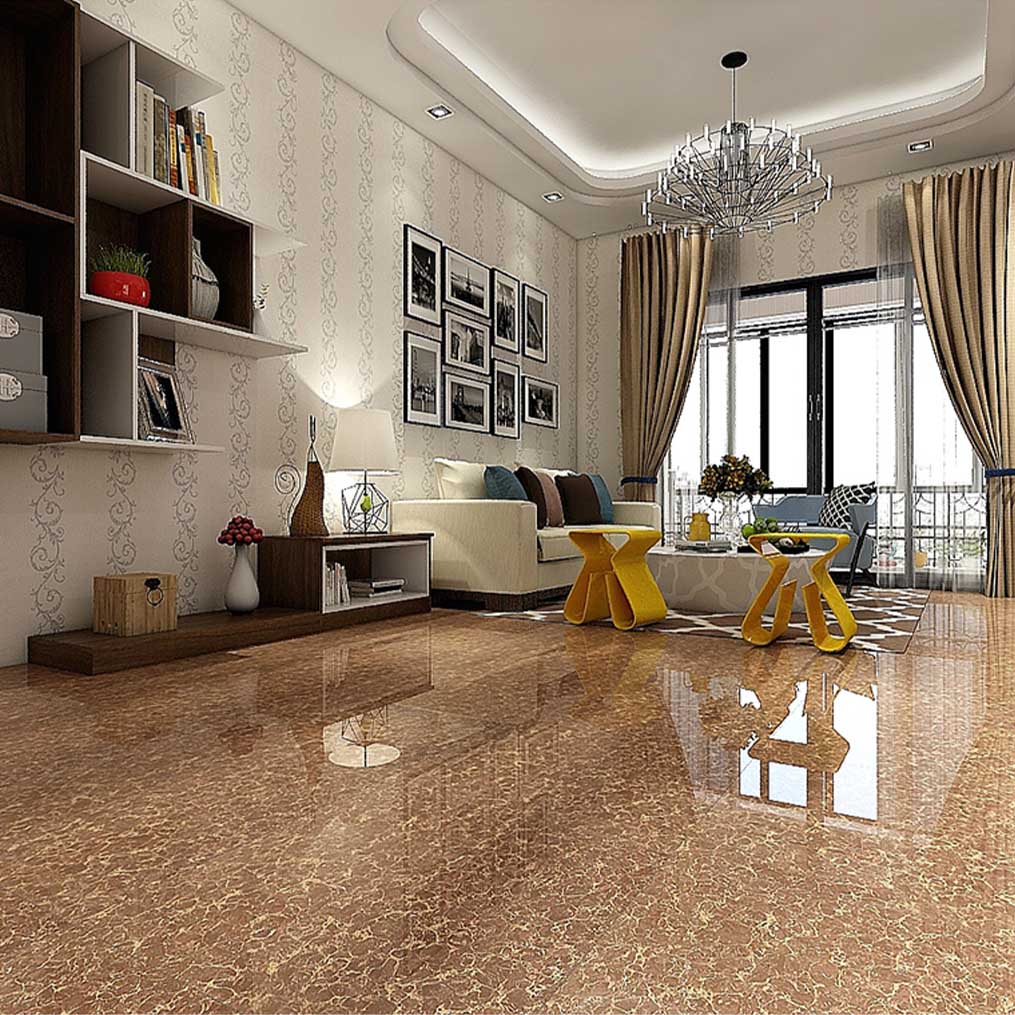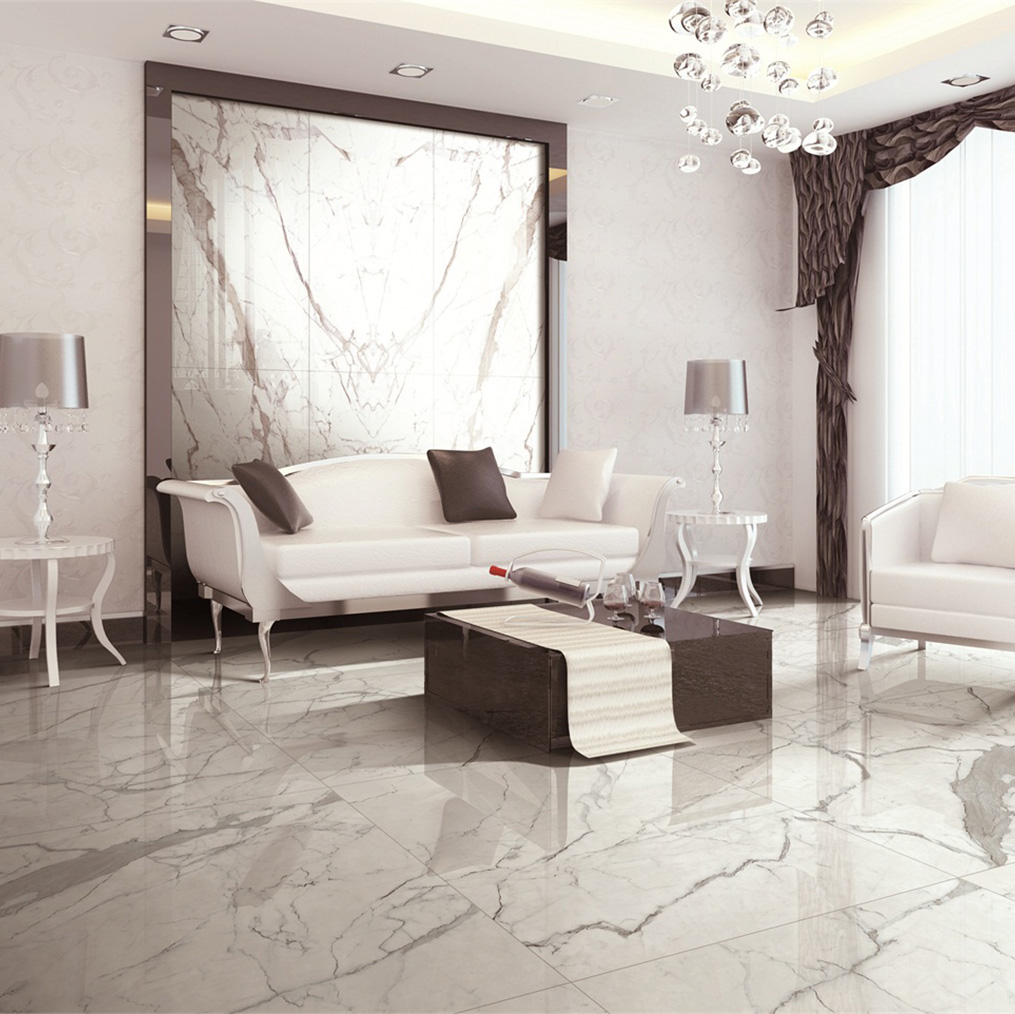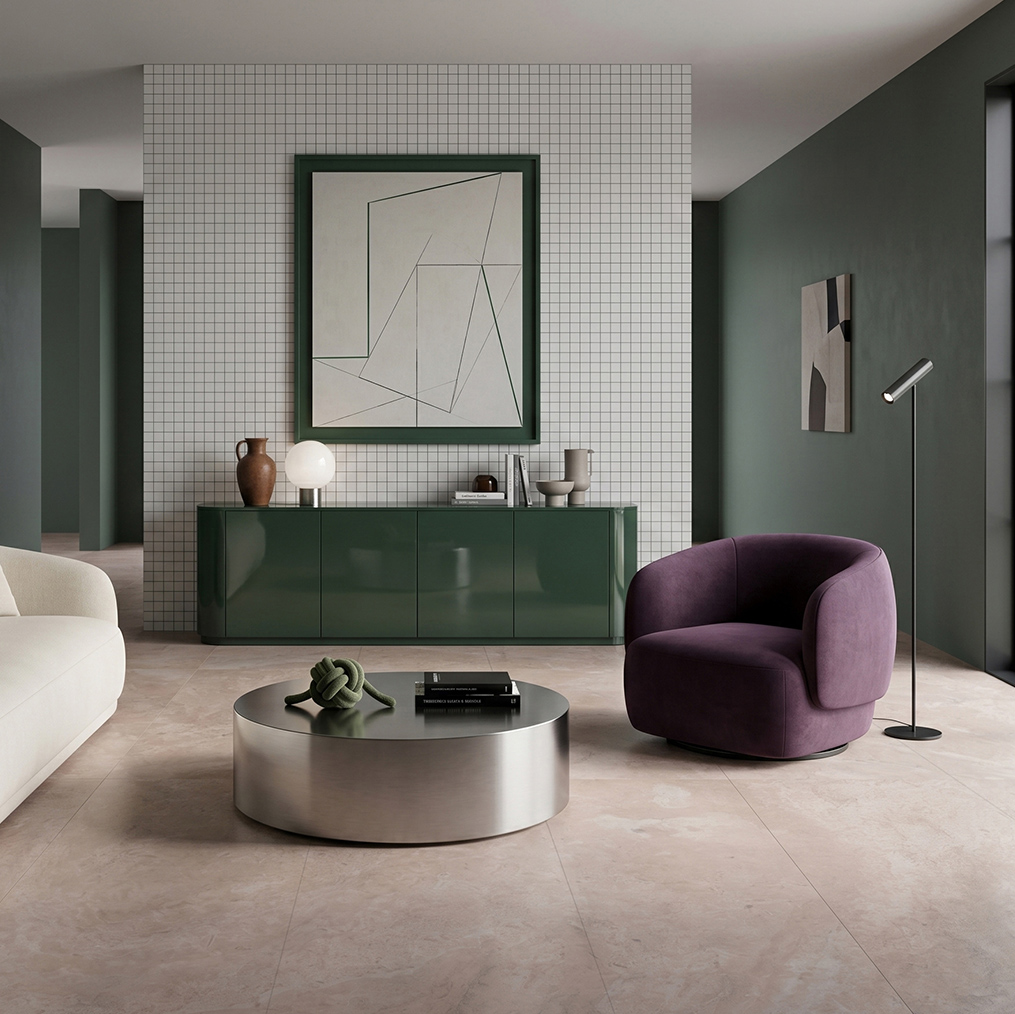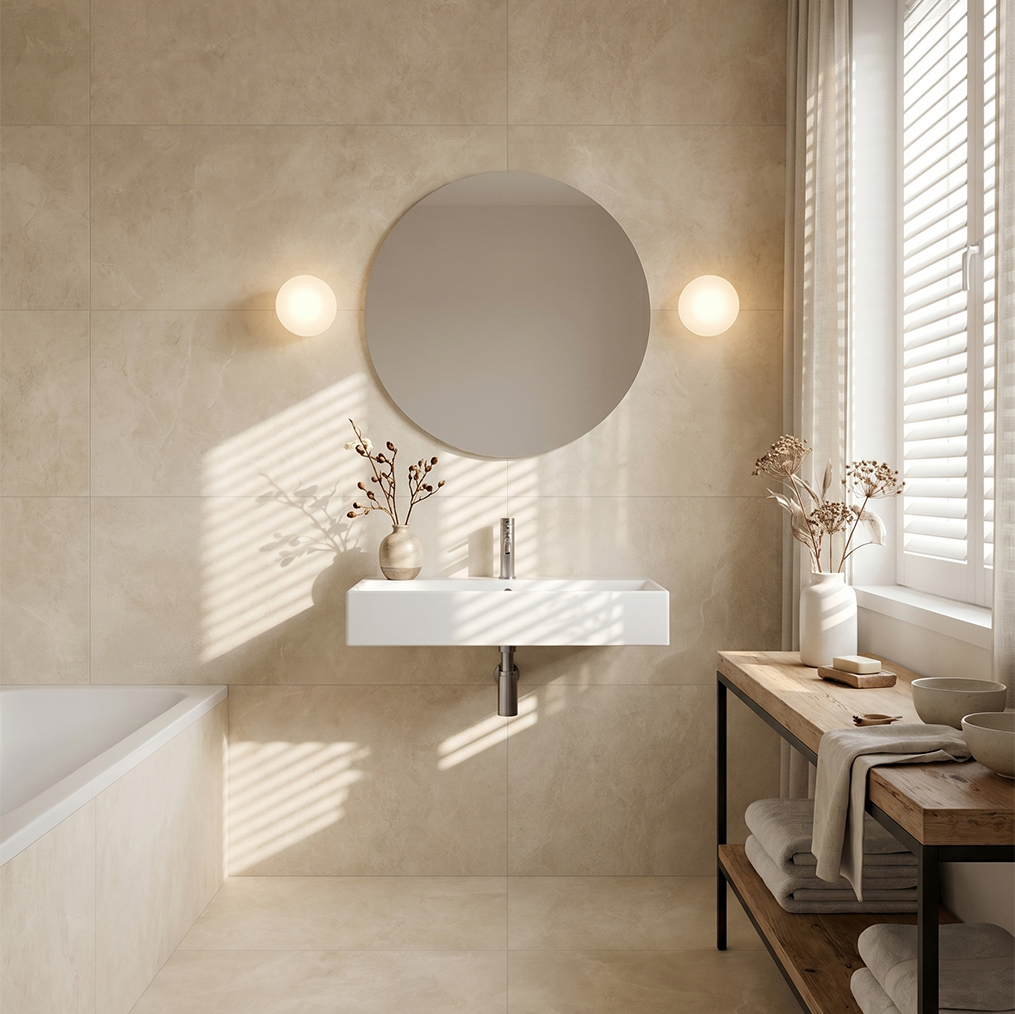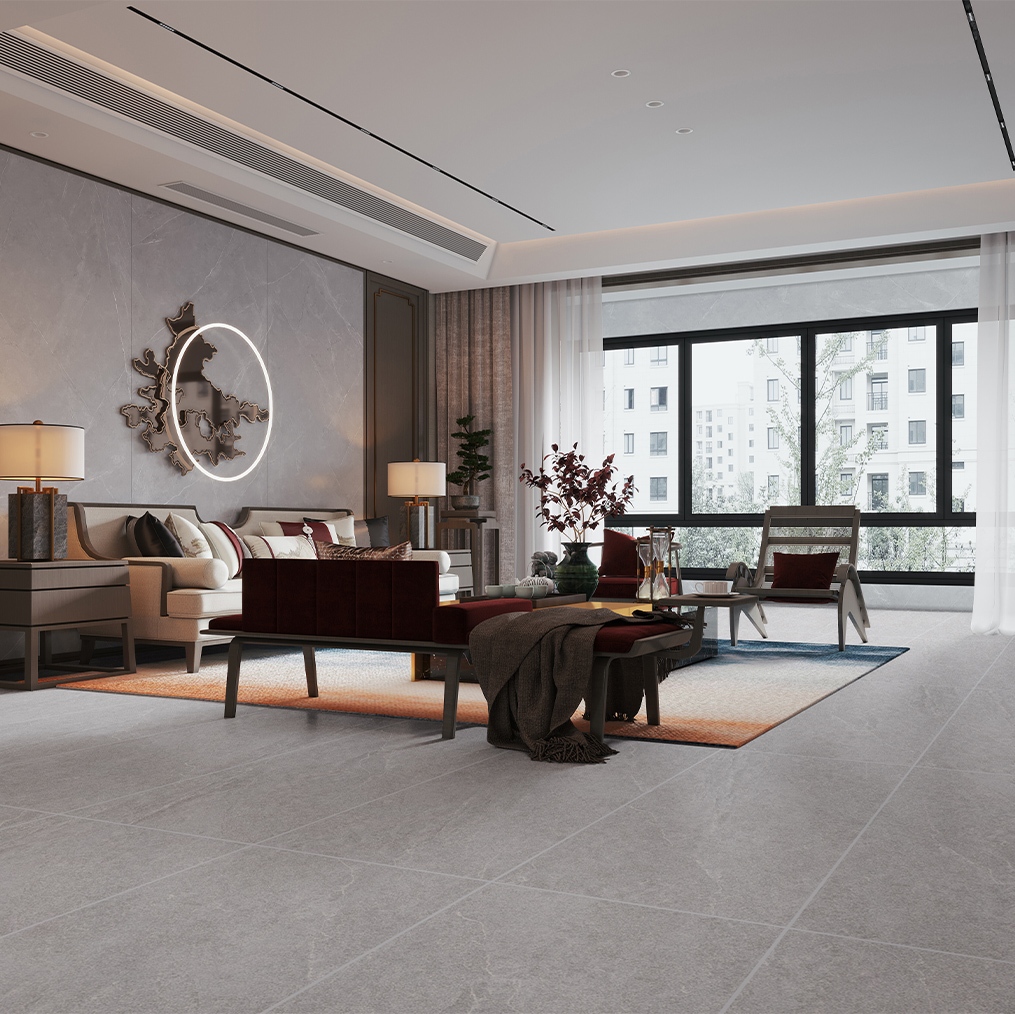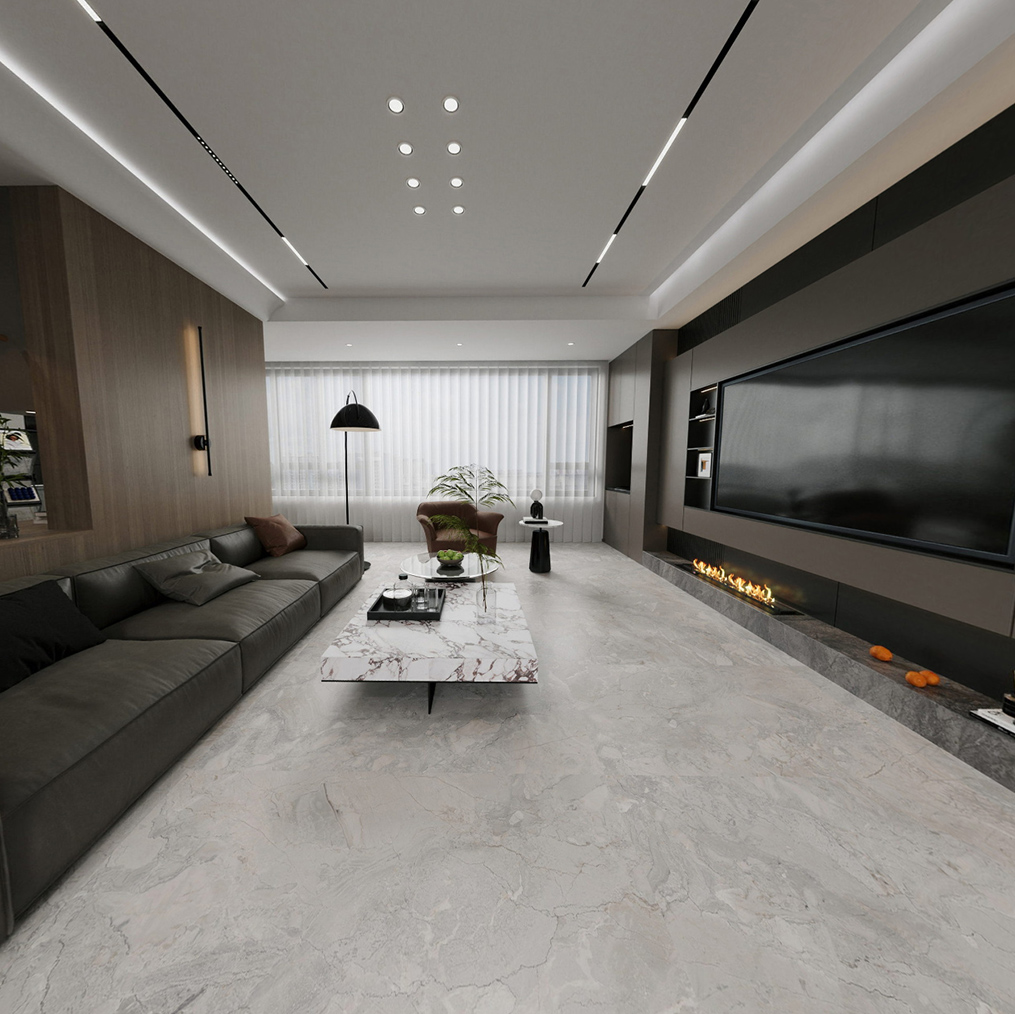

600x600 porcelain tiles, also written as 600 x 600 mm or 60 x 60 cm tiles, are one of the most versatile formats for residential and commercial projects. Their square proportions create a calm, balanced pattern, while porcelain’s low water absorption and dense body support demanding applications. The format is large enough to reduce visual interruptions but manageable enough for many standard rooms. Selecting the right surface, thickness, slip rating, edge finish, and installation system is essential because the best tile for a dry living room may not be suitable for a wet bathroom, busy restaurant, or exposed terrace.

What Are 600x600 Porcelain Tiles?
- Nominal size: 600 x 600 mm, equal to 60 x 60 cm or approximately 23.62 x 23.62 inches.
- Coverage: One tile covers 0.36 square meters before accounting for grout joints and cutting waste.
- Material: Porcelain is a dense ceramic material produced from refined clays and fired at high temperatures.
- Water absorption: Porcelain tile is commonly defined by water absorption of 0.5% or less under relevant tile standards.
- Applications: Floors, walls, bathrooms, kitchens, hallways, retail areas, offices, hotels, and some exterior locations.
For technical verification, buyers should request the product’s test reports and declaration of performance rather than relying only on the word “porcelain” in a product description. The Tile Council of North America provides technical resources on tile standards and installation, while ANSI A137.1 is a widely referenced product standard in North America.
Tile Council of North America technical resources and U.S. Access Board accessibility guidance can help project teams confirm product and installation requirements.
Where Should You Use 600x600 Porcelain Tiles?
1. Living Rooms and Open-Plan Areas: Use Them to Create Visual Continuity
600x600 tiles are particularly effective in living rooms, dining areas, entry zones, and open-plan kitchens because their square shape produces a regular, uncluttered grid. When the same tile continues through connected spaces, the floor can appear more continuous and spacious.
- Choose a matt or lightly textured surface for everyday residential use.
- Use a neutral stone, concrete, or warm gray finish to coordinate with different furniture styles.
- Confirm the tile’s abrasion rating if the room connects directly to an exterior entrance.
- Select a grout color close to the tile body when you want a seamless appearance.
- Use a contrasting grout only when the grid pattern is intended to become a design feature.
2. Kitchens: Use Durable, Low-Absorption Surfaces That Are Easy to Clean
Porcelain is a practical kitchen flooring material because it is dense, durable, and generally resistant to routine moisture exposure. A 600x600 format can reduce the number of grout joints compared with smaller tiles, although grout remains the most maintenance-sensitive part of the installation.
- Prefer a matt or satin finish that provides visual grip and hides small marks.
- Avoid highly polished floors where water, oil, or food residue may create a slippery surface.
- Check chemical and stain-resistance information for commercial or heavy-use kitchens.
- Use a suitable flexible adhesive over stable, properly prepared substrates.
- Seal cementitious grout when recommended by the grout manufacturer.
3. Bathrooms: Use 600x600 Tiles Carefully on Floors and Walls
600x600 porcelain tiles can work well on bathroom walls and floors, but the selected finish must match the wet conditions. Large tiles reduce grout lines, yet they also require a flatter substrate and may need more cutting around drains, niches, toilets, and corners.
- Choose a floor-rated tile with tested slip performance for wet conditions.
- Use smaller mosaics or purpose-made shower-floor tiles when numerous slopes and drainage changes are required.
- Confirm that the waterproofing system is installed beneath the tile; tile itself is not a substitute for a waterproof membrane.
- Use a compatible tile adhesive, grout, sealant, and movement-joint system.
- Plan the layout before installation so cuts are balanced and narrow slivers are avoided.
4. Hallways and Entrances: Use Strong, Dirt-Tolerant Finishes
Entrances experience abrasive dirt, grit, footwear traffic, and frequent cleaning. A 600x600 porcelain tile can be a good choice when its wear rating and surface texture suit the expected traffic.
- Install an effective entrance matting system to reduce grit carried onto the tile.
- Choose a surface that does not become excessively slippery when wet.
- Consider mid-tone colors and subtle patterns that conceal dust and small scuffs.
- Confirm that the tile is rated for the expected residential or commercial traffic.
5. Retail Stores, Offices, Restaurants, and Hotels: Use Them When Lifecycle Value Matters
Commercial projects often benefit from the repeatable 600x600 module because it simplifies grid planning, replacement, and phased installation. The correct product must be selected according to traffic, wheeled loads, cleaning chemicals, moisture, and local building requirements.
- Request technical data for breaking strength, abrasion resistance, chemical resistance, and slip performance.
- Order sufficient tiles from the same production batch for color and caliber consistency.
- Retain labeled spare cartons for future repairs.
- Coordinate tile dimensions with partitions, furniture modules, floor boxes, and door thresholds.
- Use an approved commercial installation system rather than treating a large project as a residential installation.
6. Patios, Balconies, and Exterior Areas: Use Only Exterior-Rated Products
Not every 600x600 porcelain tile is suitable for outdoor use. Exterior applications require consideration of frost, thermal movement, drainage, surface grip, installation method, and local climate. A product may be low-absorption porcelain but still be unsuitable for an exposed terrace if the installation system or surface finish is inappropriate.
- Confirm frost resistance where freezing temperatures are possible.
- Select an exterior slip-resistant finish based on the actual wet-use conditions.
- Provide adequate slope and drainage so water does not remain on the surface.
- Use exterior-rated adhesive, grout, sealants, and movement joints.
- Follow the manufacturer’s approved method for bonded, pedestal, or other exterior installation systems.
When Should You Choose 600x600 Instead of Another Tile Format?
Choose 600x600 When You Need a Balanced Large-Format Appearance
- The room is medium-sized or larger and can accommodate a regular grid.
- You want fewer grout lines than a 300x300 or 400x400 format provides.
- The layout contains broad, uninterrupted floor areas.
- You need a format that is easier to handle than very large slabs.
- You want a tile that can be repeated across multiple rooms or project zones.
Consider Smaller Tiles When the Floor Has Many Angles or Drainage Changes
Small-format tiles may be more practical in compact bathrooms, curved spaces, shower floors, irregular rooms, and areas with multiple inspection covers. Their additional grout lines can improve layout flexibility and help form slopes toward drains.
Consider Larger Formats When the Space Is Very Open and the Substrate Is Exceptionally Flat
Large slabs and oversized tiles can create even fewer joints, but they require specialized handling, transportation, cutting equipment, and installation expertise. A 600x600 tile often provides a useful compromise between visual scale, handling, availability, and installation risk.
How to Select the Correct 600x600 Porcelain Tile: A Practical Step-by-Step Process
Step 1: Measure the Space and Calculate the Required Quantity
- Measure the length and width of each rectangular area.
- Calculate floor area by multiplying length by width.
- Divide the total area by 0.36 square meters to estimate the number of 600x600 tiles.
- Add at least 10% for cutting, breakage, pattern matching, and future repairs.
- Increase the allowance for diagonal layouts, irregular rooms, or patterned tiles.
Example: A 20-square-meter room requires approximately 56 tiles before waste because 20 ÷ 0.36 equals 55.56. With 10% allowance, order approximately 62 tiles, subject to the supplier’s box quantity.
Step 2: Confirm the Technical Classification
- Verify that the product is porcelain according to the applicable standard.
- Check water absorption, breaking strength, thickness, and dimensional tolerance.
- Confirm whether the tile is approved for floors, walls, or both.
- Review abrasion or wear classification for high-traffic areas.
- Confirm frost resistance for exterior applications.
- Request current technical documentation from the supplier.
Step 3: Select the Correct Surface Finish
- Polished: Reflects light and creates a luxurious appearance but may show footprints, water marks, and scratches more clearly.
- Matt: Offers a practical appearance for everyday floors and generally requires less visual upkeep.
- Structured: Provides additional texture for some wet or exterior applications but may require more detailed cleaning.
- Lappato: Creates a semi-polished effect and should be evaluated for slip behavior and maintenance.
- Grip or exterior finish: Designed for demanding environments but should be tested for cleanability and barefoot comfort.
Step 4: Check Slip Performance Instead of Relying on a Marketing Label
Terms such as “anti-slip,” “grip,” or “R11” should not be accepted without understanding the test method and intended application. Slip performance depends on footwear, water, oil, contamination, cleaning, slope, and use conditions. For projects in North America, ask whether the product has a Dynamic Coefficient of Friction test result under the applicable ANSI A326.3 method. In other regions, confirm the relevant local or project-specific test standard.
- Request the actual test value and test method.
- Match the result to the intended wet, dry, barefoot, or contaminated environment.
- Check whether the tested finish is identical to the finish being purchased.
- Do not assume a rougher surface is automatically safer in every condition.
Step 5: Decide Between Rectified and Non-Rectified Edges
- Rectified tiles: Mechanically finished after firing for more precise dimensions and narrower planned grout joints.
- Non-rectified tiles: Have softer, naturally formed edges and typically require wider grout joints to accommodate dimensional variation.
- Rectified edges do not eliminate the need for a flat substrate or professional installation.
- Follow the tile and adhesive manufacturer’s minimum grout-joint recommendation.
Step 6: Approve a Physical Sample Before Ordering the Project Quantity
- View the sample under the project’s actual lighting.
- Place it beside cabinetry, paint, stone, metal, and wood samples.
- Test how visible footprints, water marks, and cleaning streaks are.
- Compare several cartons to identify shade and caliber variation.
- Confirm the production batch, shade code, caliber, thickness, and surface finish.
600x600 Porcelain Tile Installation Requirements
Prepare a Flat, Stable, Clean Substrate
Large-format tiles are less forgiving of uneven floors than small tiles. High spots can create rocking, while low spots can produce inadequate adhesive contact and lippage. Repair cracks, remove contamination, verify moisture conditions, and use an approved leveling or smoothing system where necessary.
Use the Correct Adhesive and Coverage Method
- Select adhesive according to tile size, substrate, moisture exposure, and interior or exterior use.
- Use the appropriate notched trowel recommended by the adhesive manufacturer.
- Consider back-buttering the tile to improve contact on large-format installations.
- Periodically lift a tile during installation to check coverage.
- Do not allow adhesive ridges to remain uncollapsed beneath the tile.
Plan Grout Joints and Movement Joints Before Laying the Tiles
- Do not butt tiles directly against one another.
- Use spacers or a leveling system that matches the required joint width.
- Continue structural and perimeter movement joints through the tile finish.
- Use flexible sealant at changes of plane, internal corners, and movement locations where specified.
- Coordinate joints with doorways, columns, walls, and large openings whenever possible.
Design Ideas for 600x600 Porcelain Tiles
Use a Monochromatic Grid for a Calm Contemporary Interior
Choose a soft gray, beige, cream, or charcoal tile and pair it with grout in a similar tone. This approach minimizes visual interruptions and works well in minimalist, Scandinavian, industrial, and modern interiors.
Use Stone-Look Porcelain for a Natural Appearance with Predictable Performance
Stone-look porcelain can reproduce marble, limestone, slate, or travertine patterns while offering more consistent dimensions and generally simpler routine care than many natural stones. Review the print variation before purchase so the finished floor does not appear overly repetitive.
Use Concrete-Look Tiles for Commercial and Industrial-Inspired Spaces
Concrete-look 600x600 tiles suit offices, studios, restaurants, showrooms, and contemporary homes. Medium-tone surfaces can help conceal everyday dust while supporting black metal, natural timber, glass, and neutral furniture.
Use Grout Color Strategically
- Matching grout creates a larger visual field.
- Contrasting grout emphasizes the square module.
- Warm gray grout can soften cool gray tiles.
- Dark grout may show light residue if cleaning is inconsistent.
- Very pale grout may require more frequent maintenance in entrances and kitchens.
Maintenance: Keep 600x600 Porcelain Tiles Performing Well
- Remove loose grit regularly with a soft broom or vacuum suitable for hard floors.
- Use a pH-neutral cleaner recommended for porcelain tile.
- Follow dilution instructions and avoid leaving detergent residue.
- Clean spills promptly, particularly oils, pigments, and acidic foods.
- Use non-abrasive pads and avoid aggressive tools that may damage polished finishes or grout.
- Inspect silicone joints, grout, thresholds, and movement joints periodically.
- Keep spare tiles from the original batch for future repairs.
Porcelain tile itself is generally low maintenance, but grout and perimeter sealants can discolor, crack, or require renewal. Cleaning instructions should always be confirmed with the tile, grout, and sealant manufacturers.
Common Mistakes to Avoid Before Buying 600x600 Porcelain Tiles
- Choosing by appearance alone: A beautiful polished tile may be unsuitable for a wet floor.
- Ignoring substrate flatness: Large tiles can reveal unevenness through lippage and rocking.
- Ordering too little: Cutting waste and future repairs require additional stock.
- Mixing batches: Different shade and caliber codes may produce visible variation.
- Using indoor products outdoors: Exterior conditions require frost, drainage, and slip-performance checks.
- Using narrow joints without approval: Joint width must reflect tile tolerances and installation guidance.
- Skipping a wet-area waterproofing system: Tile and grout alone do not replace waterproofing.
- Using unsuitable cleaning chemicals: Strong acids, abrasive powders, or unapproved chemicals can damage grout and some finishes.
How to Work with an OEM Tile Supplier or Private-Label Manufacturer
For developers, importers, retailers, and hospitality groups, working with an OEM tile supplier can improve collection consistency and packaging control. The buyer should treat the technical specification and quality-control process as equally important as the surface design.
- Provide the required size, thickness, finish, body color, water absorption, and application.
- Specify whether the tile must be rectified, glazed, full-body, polished, matt, structured, or exterior-rated.
- Request pre-production samples and a signed technical specification.
- Confirm shade, caliber, flatness, breaking strength, slip testing, and abrasion testing.
- Approve packaging artwork, carton coverage, pallet configuration, and barcode information.
- Confirm minimum order quantity, lead time, inspection process, shipping terms, and replacement policy.
- Request production-batch identification so future orders can be matched as closely as possible.
- Keep a retained sample and a reserve quantity for after-sales service.
For product development, sourcing, or private-label support, buyers can also review JBN and request documentation that matches the intended market and application.
Relevant Standards and Authoritative References
- Tile Council of North America — technical information on tile products, standards, and installation.
- U.S. Access Board — accessibility and built-environment guidance relevant to floor surfaces and routes.
- ASTM C373 — water absorption and related physical-property testing for ceramic products.
- American National Standards Institute — standards-development information for applicable tile and flooring standards.
- U.S. Environmental Protection Agency — broader guidance on environmentally preferable products and purchasing considerations.
Because regulations and test methods vary by country, the project’s architect, building official, installer, or technical consultant should confirm which standards apply before purchase and installation.
Key Considerations That Are Often Overlooked
Check Actual Tile Dimensions and Caliber, Not Only the Nominal 600x600 Size
A tile labeled 600x600 may be produced to a calibrated or modular size that differs slightly from the nominal measurement. Caliber differences affect grout alignment and should not be mixed casually across batches.
Consider Furniture, Door Clearance, and Transitions
Tile thickness, underlayment, adhesive, and transition profiles can raise the finished floor. Check doors, appliances, cabinets, stairs, elevators, thresholds, and adjoining floor finishes before installation begins.
Plan for Color Variation and Pattern Repetition
Stone-look and concrete-look tiles may have multiple faces or deliberately varied graphics. Dry-lay several pieces from different cartons to distribute variation naturally and prevent repeated images from appearing in one area.
Review Indoor Air Quality and Adhesive Documentation
Where indoor environmental quality is important, request low-emission documentation for adhesives, grouts, primers, and sealants. The tile is only one component of the finished floor system.
Evaluate Repairability and Future Availability
Collections may be discontinued, colors may change, and production batches may vary. Record the manufacturer, collection, shade, caliber, batch, and purchase date, then store spare tiles in a dry, labeled location.
Final Decision Checklist
- Is 600x600 the right scale for the room and layout?
- Is the selected product approved for the intended floor or wall application?
- Does the water absorption rating meet the project requirement?
- Is the slip performance appropriate for wet, dry, barefoot, or exterior use?
- Are the finish, thickness, edge type, shade, and caliber confirmed?
- Is the substrate flat, stable, clean, and properly waterproofed where necessary?
- Have adhesive, grout, sealant, movement joints, and cleaning products been selected as one compatible system?
- Has the quantity been calculated with sufficient cutting waste and replacement stock?
- Has a physical sample been reviewed under the project’s real lighting?
- Have local building, accessibility, fire, moisture, and exterior-use requirements been checked?
Conclusion: When 600x600 Porcelain Tiles Make the Most Sense
600x600 porcelain tiles are a strong choice when a project needs a balanced large-format appearance, durable performance, manageable installation, and consistent coverage across multiple rooms. They are well suited to living spaces, kitchens, halls, bathrooms, retail interiors, offices, hotels, and selected exterior applications. The correct decision depends less on the size alone and more on the complete specification: surface finish, slip resistance, water absorption, wear performance, caliber, substrate, adhesive, grout, drainage, and maintenance plan. Select the tile by application first, then confirm its technical documentation, installation system, and long-term supply support.