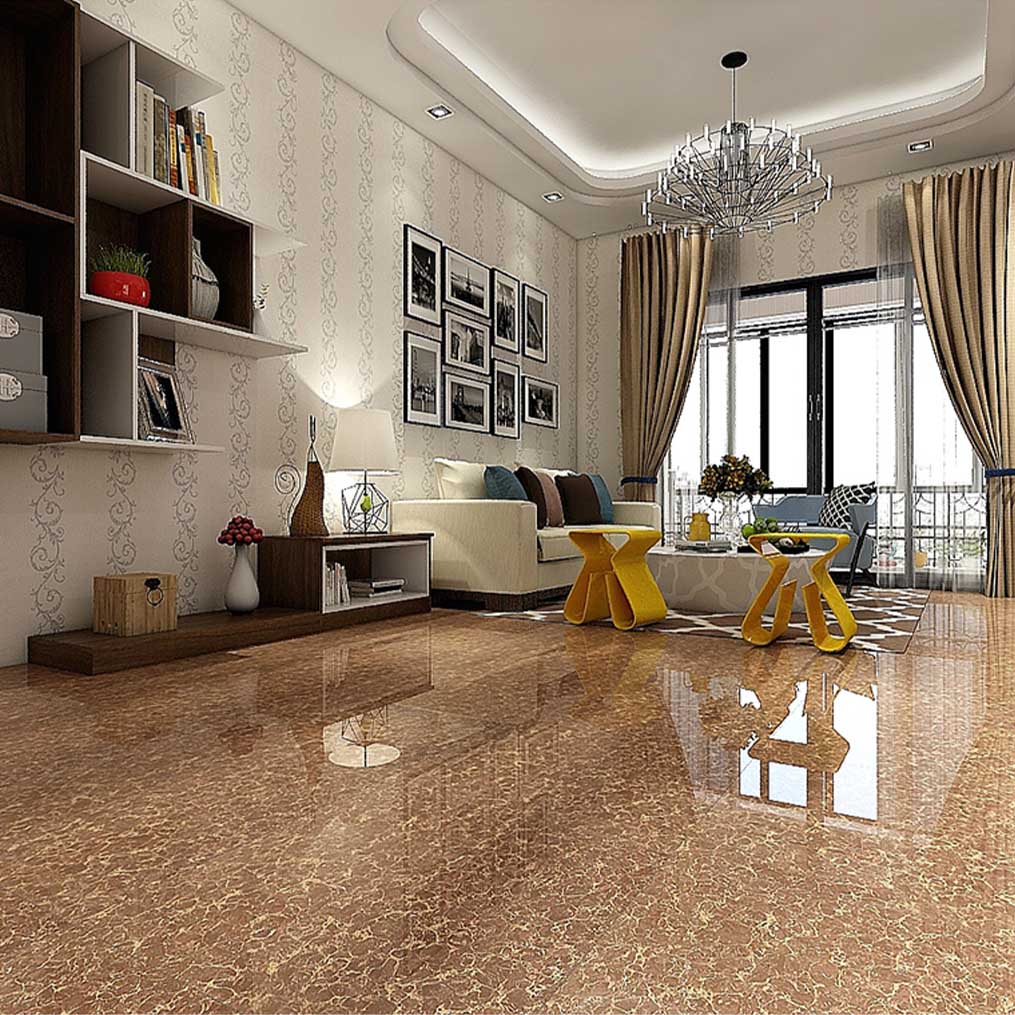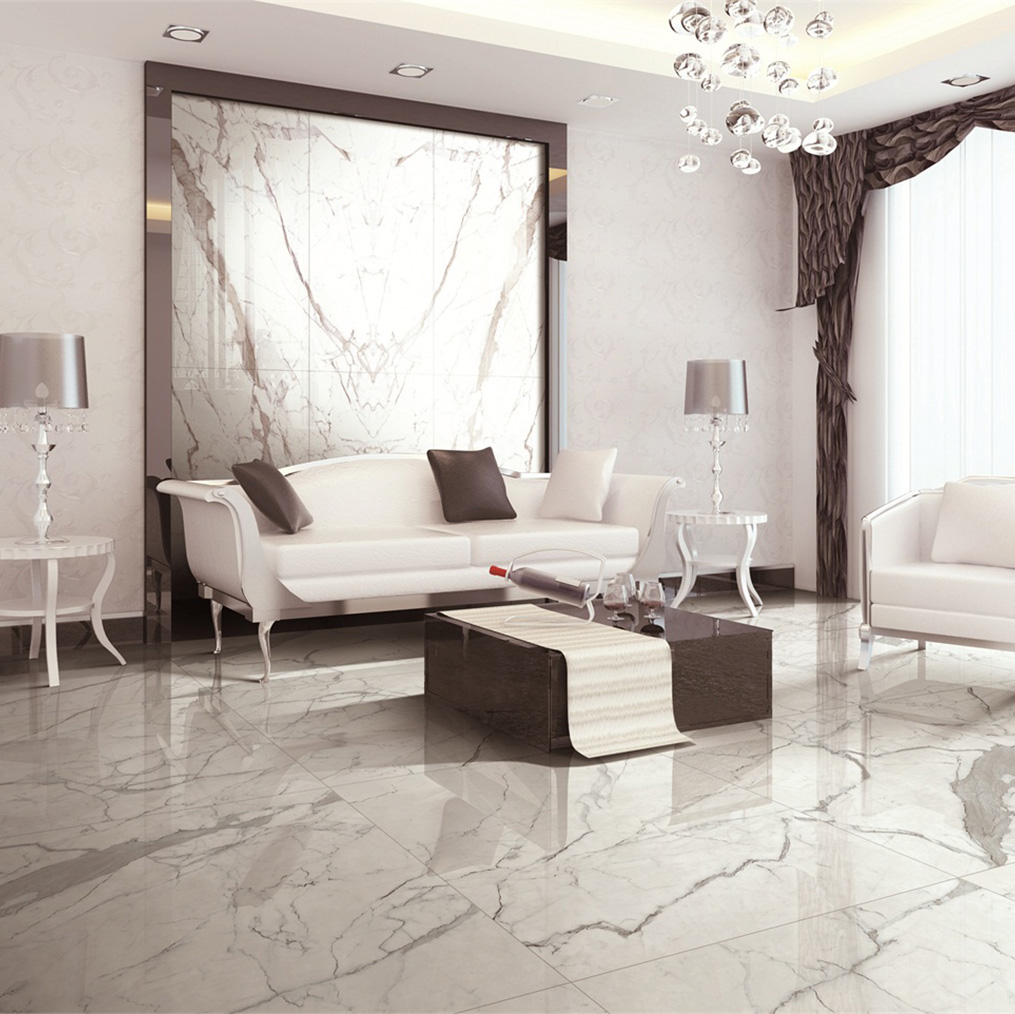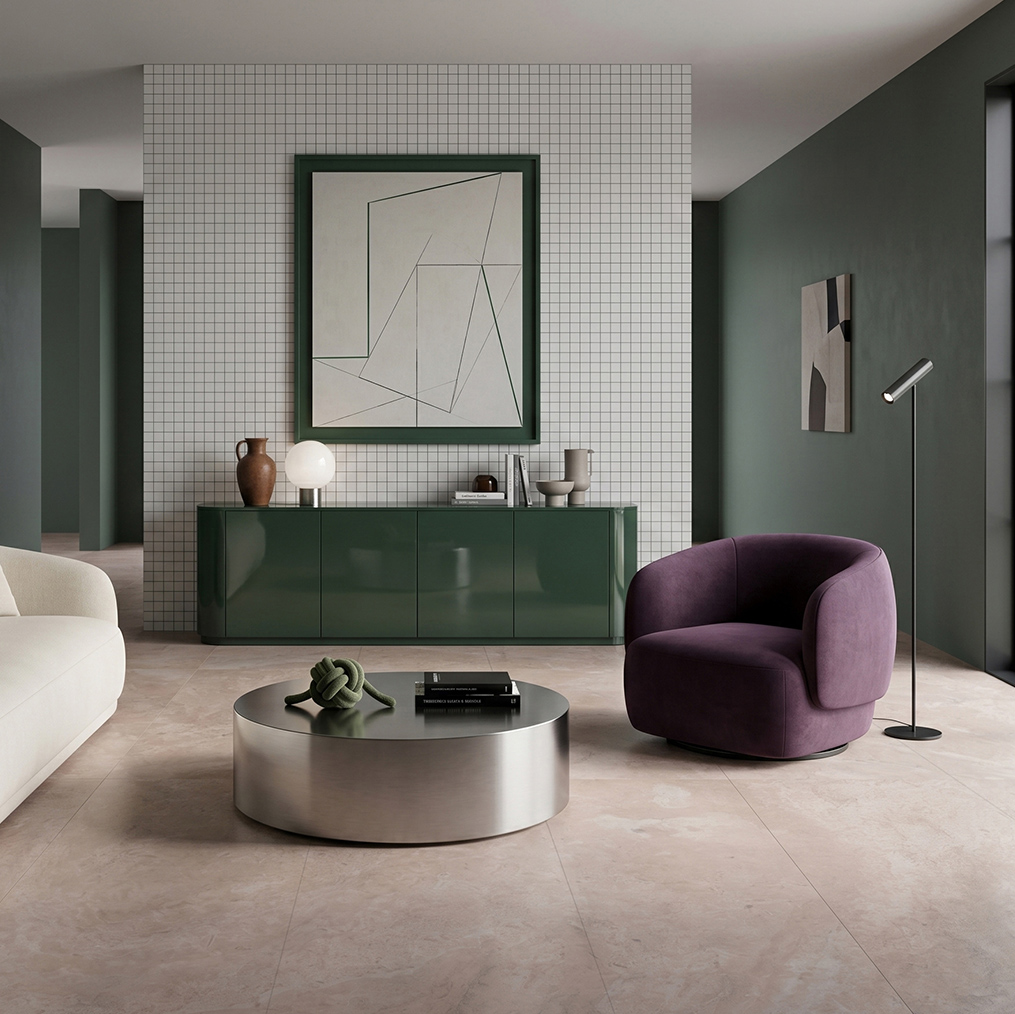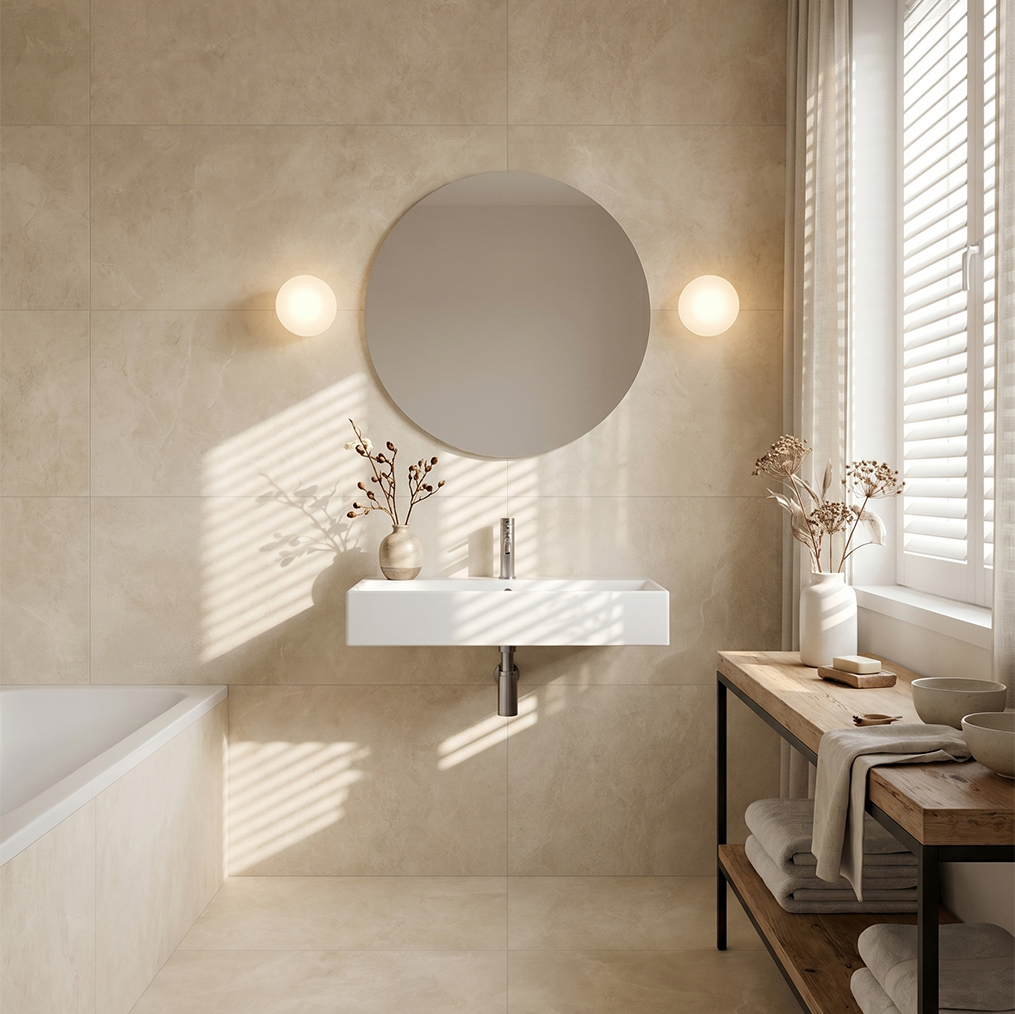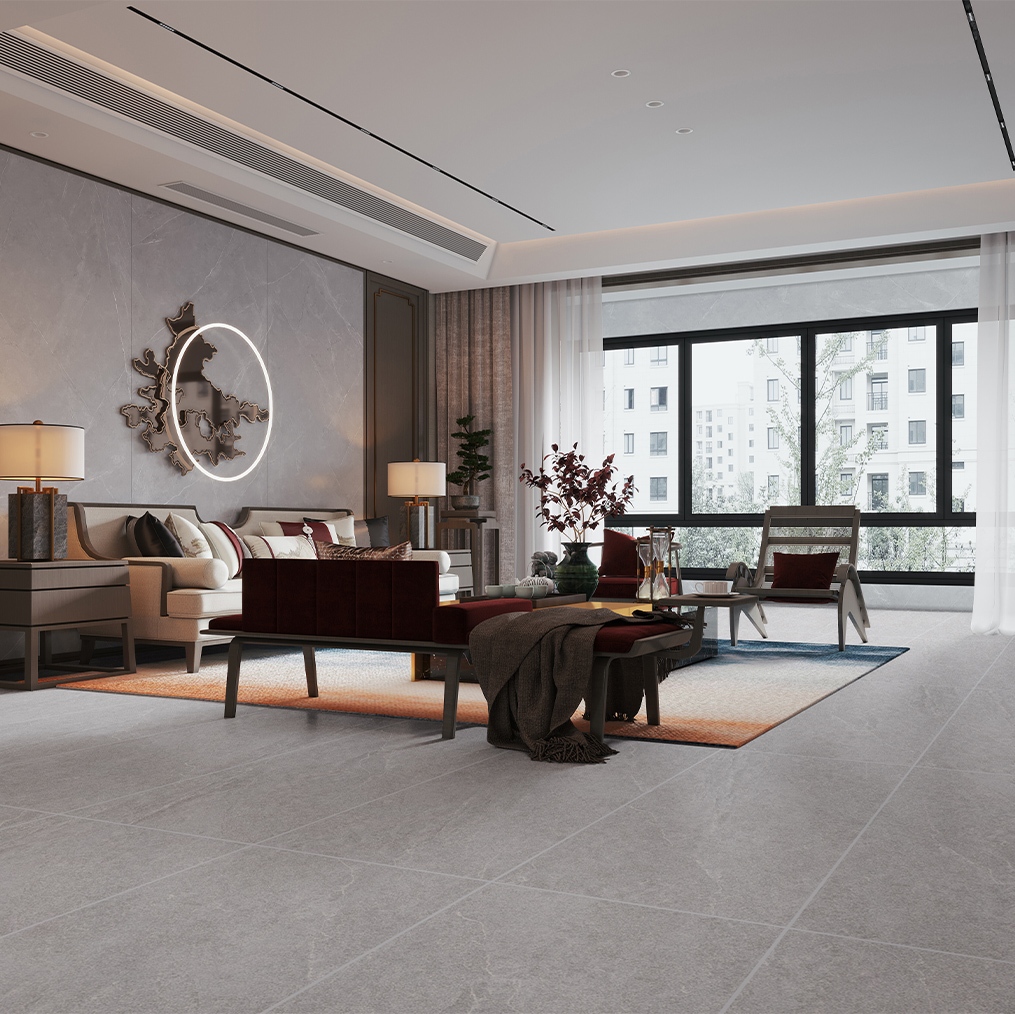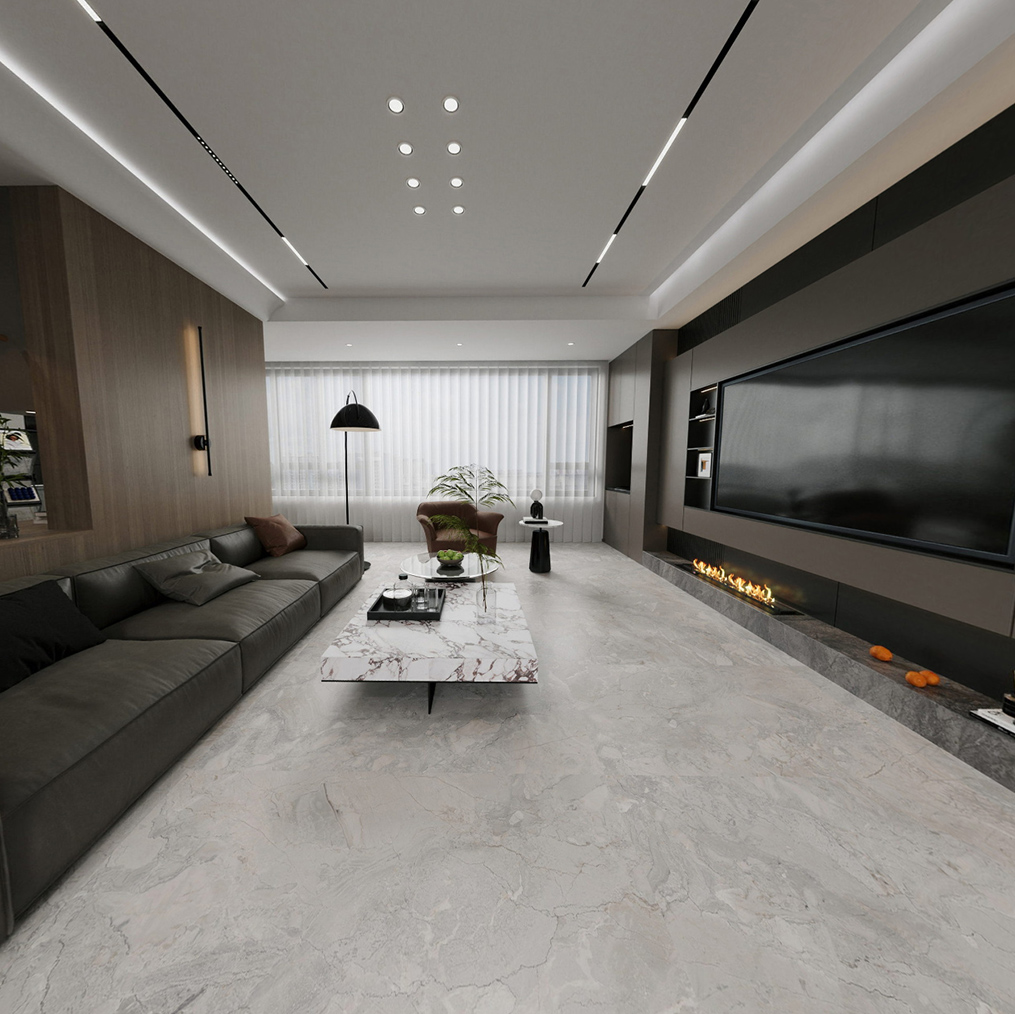

Large rooms often expose every flooring mistake: too many grout lines can make an open plan look busy, while oversized slabs may be difficult to carry, cut, and replace. For a project manager comparing a Porcelain and Ceramic Tile Supplier, 800x800 porcelain tiles offer a practical middle ground. Also called 800x800 mm porcelain floor tiles, large format porcelain tiles, or an 80x80 cm porcelain tile size, they cover 0.64 square metres per piece while remaining more manageable than many extra-large panels. This guide explains selection, performance, installation, cost, and maintenance so buyers can choose with measurable criteria rather than vague claims.
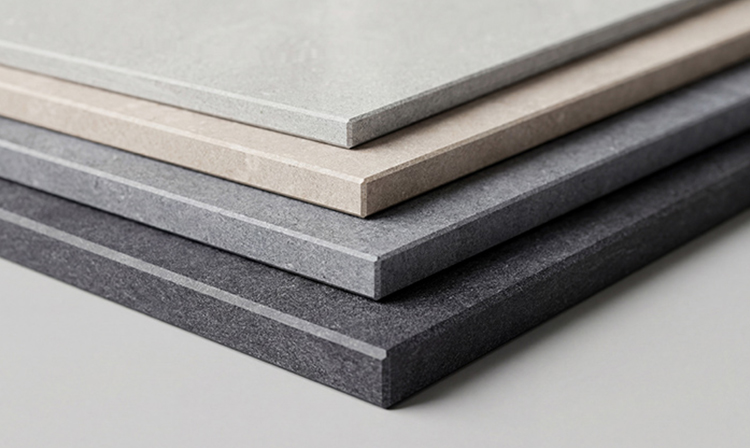
Why an OEM Tile Supplier Recommends 800x800 Porcelain Tiles for Large Rooms
The appeal of an 800x800 tile is not simply that it is “large.” Its 640,000 mm² face area reduces the number of visible joints without creating the handling and installation demands associated with very large slabs. The result is a floor or wall surface that can look continuous while still allowing individual tiles to be transported, cut, removed, and replaced.
Large-format coverage with manageable logistics
One 800x800 mm tile covers:
- 0.64 m² per tile;
- approximately 1.56 tiles per square metre before cutting and waste;
- approximately 15.63 tiles per 10 m², before adding an installation allowance.
For a rectangular 100 m² floor, the theoretical quantity is 157 tiles. A practical order may be around 165–173 tiles when allowing 5–10% for perimeter cuts, pattern matching, breakage, and future replacements. The exact percentage depends on room geometry and the layout plan; a diagonal layout or highly patterned surface normally requires more waste than a straight grid.
Fewer grout lines without the risks of oversized slabs
Compared with 600x600 mm tiles, an 800x800 mm format reduces the theoretical tile count per square metre by approximately 56%: 2.78 tiles per square metre for 600x600 versus 1.56 for 800x800. This can produce fewer grout intersections and a calmer visual field. However, the tile format does not eliminate grout joints. Joint width must follow the manufacturer’s recommendation, the tile’s actual size variation, and local installation standards.
OEM Tile Supplier Guide: What Makes an 800x800 Porcelain Tile Suitable?
Water absorption and porcelain classification
“Porcelain” should be supported by a measurable water-absorption result, not used only as a marketing label. Under widely used international classifications, porcelain tile is generally associated with water absorption of 0.5% or less when tested under the applicable standard. Buyers should request the manufacturer’s test report and confirm whether the result was obtained under ISO 10545-3, ASTM C373, or the standard specified in the purchase contract.
Low water absorption can help the tile perform in kitchens, entrances, and other areas exposed to moisture. It does not, by itself, make a tile slip-resistant, impact-proof, or suitable for every exterior application. Those properties require separate test data.
Rectified edges, calibration, and dimensional tolerance
Many 800x800 porcelain tiles are supplied with rectified edges, meaning the edges are mechanically finished after firing to improve dimensional consistency. Rectification can support a narrower, more uniform grout appearance, but it cannot correct an uneven substrate or poor installation.
Ask the OEM Tile Supplier for the declared dimensional tolerances, batch consistency, and calibration information. Tiles from different production batches may vary slightly in shade, gloss, texture, and actual dimensions. Ordering the required quantity, plus a reasonable replacement reserve, from the same batch is safer than combining later purchases.
Surface performance: PEI rating and coefficient of friction
For floors, review the intended-use classification and the manufacturer’s abrasion data. A PEI rating, where supplied under the relevant testing system, indicates resistance to visible surface wear from traffic; it is not a universal guarantee for every commercial environment. A shopping centre entrance, hotel corridor, private bedroom, and bathroom may require different specifications.
For wet or frequently contaminated areas, request the tile’s coefficient of friction or slip-resistance result under the applicable local standard. A polished tile may be visually attractive but can be a poor choice for a shower floor or an outdoor area exposed to rain. Select the finish according to the actual use rather than choosing the same surface for every room.
800x800 Porcelain Tiles vs Smaller or Larger Formats
| Format | Theoretical tiles per m² | Typical visual effect | Practical consideration |
|---|---|---|---|
| 600x600 mm | 2.78 | More joints and a more segmented grid | Easier to handle; often useful in smaller rooms |
| 800x800 mm | 1.56 | Balanced, spacious appearance | Good compromise between coverage and handling |
| 600x1200 mm | 1.39 | Strong directional emphasis | Layout orientation and substrate flatness become more important |
| 1200x1200 mm | 0.69 | Very few joints and a highly continuous surface | Greater weight, handling, cutting, lippage, and replacement challenges |
800x800 vs 600x600: 800x800 normally creates fewer grout intersections and can make a lobby or living room feel less busy. The trade-off is a heavier individual tile and a greater need for a flat substrate.
800x800 vs extra-large slabs: Extra-large formats may reduce joints further, but they often need specialist lifting equipment, more experienced installers, and carefully planned access routes. An 800x800 format can be a lower-complexity option when the visual goal is spaciousness rather than a virtually joint-free surface.
Installation Process Recommended by a Professional Tile Supplier
1. Confirm the substrate before ordering
Large-format tiles follow substrate irregularities more visibly than small tiles. Check the floor for levelness, cracks, moisture problems, contamination, and structural movement. The allowable flatness tolerance should be taken from the selected installation standard and adhesive manufacturer; do not rely on an informal visual inspection.
Where the substrate is uneven, use an approved levelling method before tiling. Adding extra adhesive under isolated low points is not a substitute for proper preparation and can create voids or uneven curing.
2. Plan the layout and movement joints
Dry-lay or digitally plan the first rows before fixing tiles. Balance perimeter cuts, avoid narrow slivers at doorways, and align joints with walls, columns, cabinets, or major sightlines where appropriate. Structural movement joints and perimeter gaps must continue through the tile assembly according to the project specification. Grout cannot replace a movement joint.
3. Use the correct adhesive coverage
For large-format tiles, installers commonly use a suitable deformable cement-based adhesive or another system specified for the substrate and tile. Back-buttering and directional trowelling may be required to improve coverage. The correct target is the standard and project requirement, not a fixed universal percentage. Wet areas and exterior applications generally demand more stringent coverage than dry interior floors.
4. Control lippage and grout spacing
Lippage is the height difference between adjacent tile edges. It becomes more noticeable with large formats and directional lighting. A levelling system may help align edges, but it cannot compensate for warped tiles, an uneven base, or incorrect adhesive application. Maintain the joint width specified for the product; using an extremely narrow joint to imitate a stone slab can increase the visibility of dimensional variation.
5. Protect the completed surface
Do not allow heavy traffic, impact, or construction debris onto a newly installed floor before the adhesive and grout have cured according to their technical data sheets. Cover the surface with a breathable protective material when other trades are still working. Avoid dragging metal equipment across the tiles.
How 800x800 Porcelain Tiles Solve Common Buyer Problems
Problem: The room looks visually fragmented
Solution: The 0.64 m² tile face reduces the number of units and grout intersections compared with 300x300 or 600x600 formats. In a large living area, hotel lobby, showroom, or open-plan office, this can create a cleaner visual field while retaining a familiar installation scale.
Problem: The project needs a premium appearance but has limited handling capacity
Solution: 800x800 tiles can deliver a large-format appearance without requiring every piece to be a full-size slab. Before approval, the contractor should still check the tile’s mass per piece, packaging dimensions, lift path, stair access, and the number of installers required.
Problem: Replacement tiles may be needed later
Solution: Keep spare tiles from the original production batch. Record the product code, shade, calibre, finish, and batch number. A replacement from a later batch may not match the installed surface, even when the nominal colour name is identical.
Problem: The buyer cannot compare supplier claims
Solution: Request a technical package containing water absorption, breaking strength, dimensional tolerance, surface classification, slip-resistance data where relevant, shade variation, packing details, and applicable compliance certificates. Comparing documents is more reliable than comparing phrases such as “super strong” or “premium quality.”
Cost and Quantity Planning with an OEM Tile Supplier
The purchase price per tile does not represent the complete installed cost. A useful estimate includes tile price, freight, unloading, adhesive, grout, levelling materials, cutting, labour, substrate preparation, protection, and waste.
Use this basic calculation:
Required tiles = project area ÷ 0.64 × (1 + waste allowance)
For example, a 100 m² rectangular interior with a simple straight layout and limited pattern matching may begin with:
- 100 ÷ 0.64 = 156.25 theoretical tiles;
- with 5% allowance: approximately 165 tiles;
- with 10% allowance: approximately 172 tiles.
These figures are planning estimates, not a substitute for a room-by-room cutting schedule. A supplier or installer should confirm the final quantity after checking wall angles, columns, drains, door openings, patterns, and the required reserve stock.
How to Select JBN 800x800 Porcelain Tiles
When reviewing JBN products or any alternative brand, use the following checklist:
- Define the location: living room, retail floor, hotel lobby, kitchen, bathroom, balcony, or exterior walkway.
- Choose the finish: polished, matt, satin, structured, or anti-slip according to traffic, moisture, cleaning, and lighting conditions.
- Check technical data: water absorption, breaking strength, abrasion or usage classification, dimensions, flatness, and slip resistance where applicable.
- Request a physical sample: view it under the project’s actual lighting and compare it with wall paint, cabinetry, stone, and grout.
- Confirm batch and packaging: verify shade, calibre, quantity per carton, cartons per pallet, gross weight, and replacement-stock policy.
- Approve the installation method: ask the installer to confirm substrate preparation, adhesive, joint width, movement joints, and curing time.
Authoritative Standards and Source Checking
Tile performance claims should be checked against recognised standards and the manufacturer’s technical documentation. Useful reference points include:
- ISO 13006, which establishes definitions, classification, characteristics, and marking requirements for ceramic tiles;
- ISO 10545 test methods for ceramic tiles, including water absorption and other performance characteristics;
- ASTM C373, a recognised test method for water absorption and bulk density of fired whiteware products;
- ANSI tile standards information from the Tile Council of North America.
Important source-integrity note: A requested statement says that, “According to the China Eye Health White Paper (2022),” a sample survey of children aged 6–12 found myopia incidence rising from 53.6% in 2018 to 59.1% in 2021, based on 32,000 children in 27 provinces. This statistic concerns eye health, not porcelain tiles, and the exact title, age range, sample size, and year-to-year figures should be verified against the original issuing institution before publication. It should not be presented as an established fact without a primary document or official link. It also has no evidentiary connection to tile durability, safety, or interior design, so it is excluded from the product claims in this article.
FAQ About 800x800 Porcelain Tiles
Are 800x800 tiles suitable for living rooms?
They are often suitable for living rooms and other large dry interiors when the substrate is adequately flat and the selected surface finish matches the household’s use. Confirm the product’s technical classification and installation requirements before purchase.
Are 800x800 porcelain tiles difficult to install?
They require more planning and handling than small tiles because each piece is larger and heavier. The main technical concerns are substrate flatness, adhesive coverage, lippage control, movement joints, and safe lifting. Experienced installers should follow the tile and adhesive manufacturers’ instructions.
How many 800x800 tiles do I need for 50 m²?
The theoretical quantity is 50 ÷ 0.64 = 78.125 tiles. In practice, order approximately 82 tiles with a 5% allowance or 86 tiles with a 10% allowance, subject to the final layout and cutting plan.
Do rectified 800x800 tiles need grout?
Yes. Rectified edges may allow a more consistent joint, but they do not make a grout-free installation possible. The minimum joint width should follow the product specification, applicable standards, and installer’s assessment of dimensional tolerance.
Can polished 800x800 porcelain tiles be used outdoors?
Do not assume that a polished indoor tile is suitable outdoors. Exterior areas require confirmation of frost resistance where relevant, water management, slip resistance, thermal performance, and the appropriate installation system. A matt or structured surface may be more suitable, but the technical data must decide.
What should I ask an OEM Tile Supplier before placing an order?
Ask for test reports, product standards, shade and calibre information, thickness, flatness, packaging and pallet data, minimum order quantity, lead time, sample approval process, replacement policy, and recommended installation materials. Also confirm whether the supplied batch will be reserved for the complete project.
Conclusion: Is 800x800 the Right Porcelain Tile Size?
800x800 porcelain tiles are popular because they balance three measurable needs: each tile covers 0.64 m², the format reduces theoretical tile quantity and grout intersections compared with 600x600 tiles, and individual pieces are generally easier to manage than extra-large slabs. Their success still depends on water absorption, dimensional consistency, surface performance, substrate preparation, adhesive coverage, and a correctly planned layout.
For a large residential, commercial, hospitality, or retail interior, the best decision is not simply to choose the biggest tile available. Compare the intended traffic and moisture conditions with verified technical data, calculate the real quantity including waste, and use an installer familiar with large-format work. To review suitable finishes, technical specifications, and project options, contact JBN or request a sample before committing to the full order.