19,Nov 2026
Wood-look ceramic tile floors need less moisture control than hardwood, but they still require a structured routine to prevent haze, scratches, grout discoloration, and trapped grit. In my experience, the best results come from removing dry soil first, using a diluted pH-neutral cleaner, controlling water, and treating grout separately. These Cleaning and Grout Care Tips for Wood-Look Ceramic Tile Floors apply to ceramic and porcelain surfaces, including textured designs that imitate natural wood grain.
!
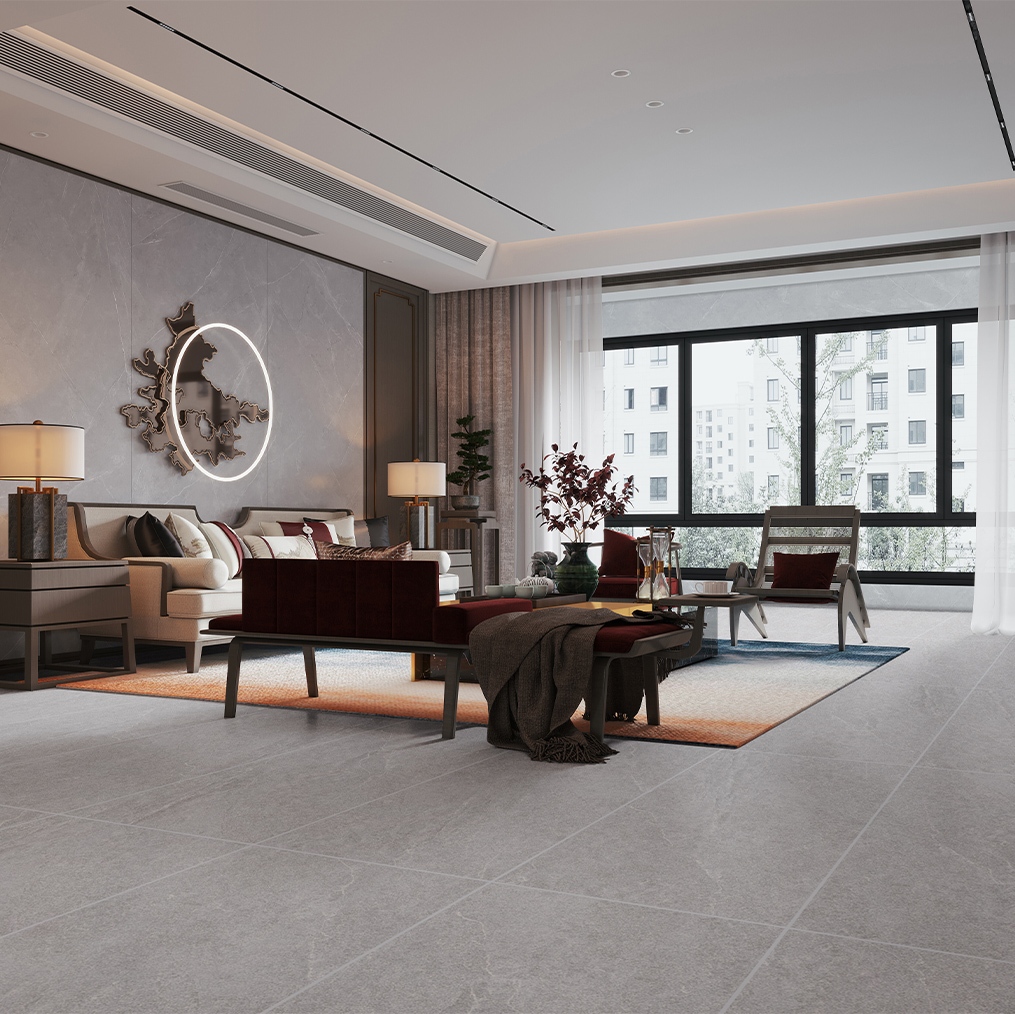
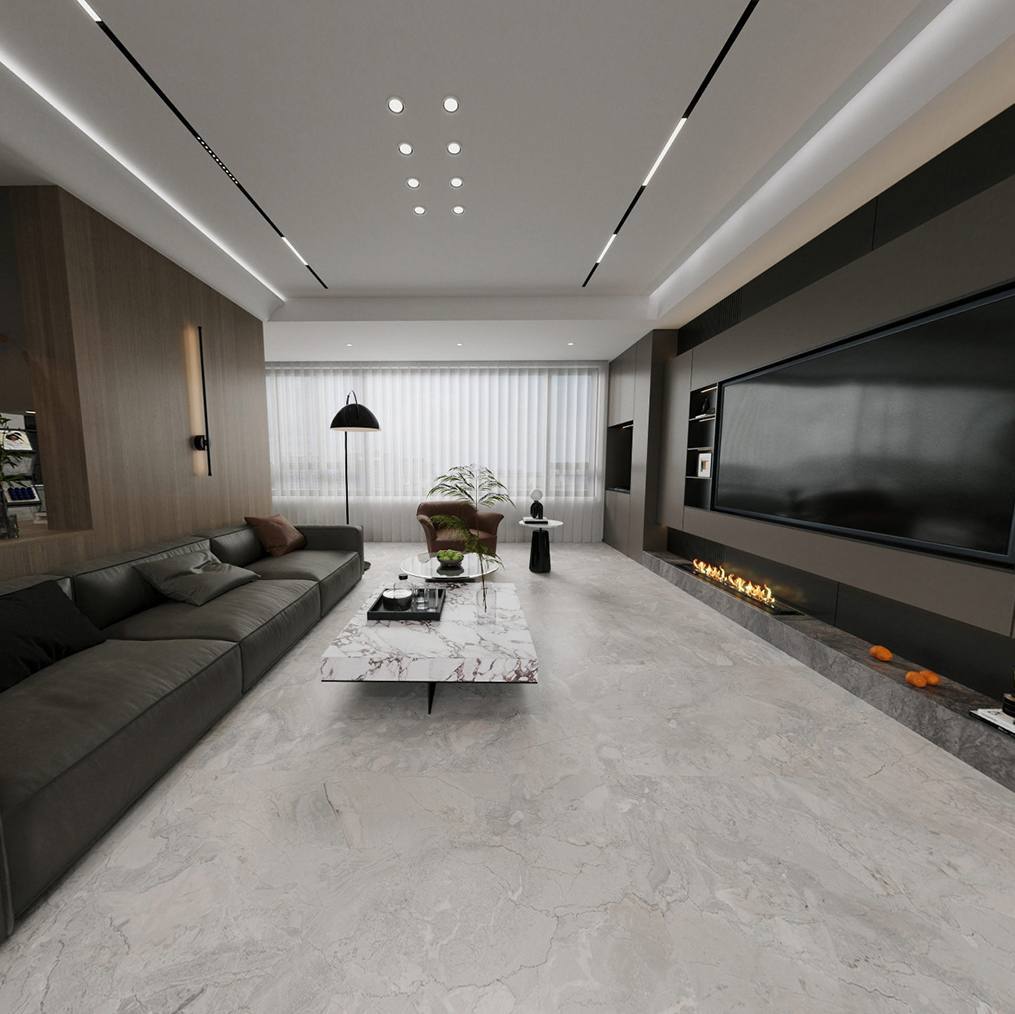
JBN produces tile products that include wooden tiles, rustic tiles, polished porcelain tiles, and glazed tile options. Its stated production support includes OEM and ODM customization, sample development, automated production equipment, and third-party inspection reports. Those details matter when selecting Wood Ceramic Floor Tiles because the tile finish, joint width, surface texture, and grout type all affect the safest cleaning method.
The best way to clean wood-look tile floors is to remove loose grit, damp mop with a diluted pH-neutral tile cleaner, rinse if residue remains, and dry with a microfiber cloth or mop. I clean grout separately with a soft brush and a grout-safe product rather than relying on the floor cleaner alone. This method reduces the risk of scratches, sticky residue, haze, and dirty water settling into textured grain or grout joints.
For routine care, I follow a simple sequence: dry clean first, spot clean spills promptly, damp mop in small sections, and allow the floor to dry fully. A microfiber mop is preferable to a saturated cotton mop because it uses less water and leaves fewer loose fibers. When a floor still looks dirty after mopping, the problem is often leftover cleaner, embedded soil in the texture, or darkened grout rather than a failure of the tile surface.
I begin with a soft-bristle broom, dry microfiber dust mop, or vacuum designed for hard floors. Vacuum wheels and attachments should be free of trapped stones or sand because abrasive particles can create fine scratches, especially on polished or semi-polished tile. Entryways, kitchens, and homes with pets usually need this dry-cleaning step daily or every other day.
Do not push loose dirt across the room with a wet mop. Water turns dust, hair, and grit into a slurry that can spread across the floor and settle into wood-look grooves. Place washable mats at exterior doors and add felt pads beneath furniture legs to reduce tracked-in soil and movement-related scratching.
I mix a pH-neutral tile cleaner according to its label rather than adding extra concentrate. More product does not mean cleaner floors; excess detergent can leave a sticky film that attracts dust and causes streaks. I work in sections of approximately 10 to 20 square feet, rinse the microfiber mop regularly, and replace the cleaning solution when it becomes visibly cloudy.
For ceramic or porcelain tile, use a product labeled for tile and compatible grout. Manufacturer-approved cleaners are the safest choice when the tile has a specialized coating, textured finish, metallic detail, or unusual surface treatment. Avoid abrasive powders, scouring pads, stiff metal brushes, and cleaners containing ingredients that may attack grout or alter the finish.
After damp mopping, I use a clean, dry microfiber mop to remove remaining moisture. This is especially useful for textured wood-look tile because shallow grooves can hold water and diluted soil after the surrounding surface appears dry. Inspect the floor from several angles under natural or side lighting to identify streaks, dull patches, or residue.
If the floor looks hazy, I first stop adding cleaner and rinse with clean water. A second pass with a nearly damp microfiber mop often removes detergent film. If haze remains, test a tile-safe residue remover on an inconspicuous area and follow the label instructions rather than applying vinegar, bleach, or an aggressive acid cleaner across the entire floor.
The best cleaner for wood-look ceramic tile floors depends on the tile finish, soil type, and grout condition. For routine dust, food spills, and pet tracks, I choose a pH-neutral tile cleaner. For grease, soap scum, mineral deposits, or old residue, I use a product specifically labeled for that soil and confirm that it is safe for ceramic tile and the installed grout.
| Floor condition | Preferred cleaning approach | Products or methods to avoid |
|---|---|---|
| Daily dust and grit | Dry microfiber mop or hard-floor vacuum | Rough broom heads and damaged vacuum wheels |
| Food and drink spills | Prompt blotting followed by diluted pH-neutral cleaner | Allowing sugary or acidic liquids to dry |
| Grease near a kitchen | Tile-safe alkaline cleaner used as directed | Heavy detergent concentration and repeated soaking |
| Soap scum in bathrooms | Grout-safe bathroom cleaner with controlled rinsing | Leaving cleaner to air-dry on the floor |
| Mineral haze | Tile-compatible residue remover after testing | Uncontrolled use of strong acids |
| Mold or mildew in grout | Labeled mold treatment with ventilation | Mixing bleach with acids or ammonia |
I generally avoid vinegar on wood-look tile unless the tile and grout manufacturer specifically approves it for the exact installation. Vinegar is acidic, and repeated use may affect cement-based grout, grout sealers, natural stone accents, or certain surface treatments. Never mix vinegar with bleach, ammonia, or other chemical cleaners because the combination can create hazardous fumes.
Ceramic and porcelain wood-look tiles can often be cleaned with the same pH-neutral product, but I do not assume they have identical surface characteristics. Porcelain is generally denser, while ceramic tile may have a different glaze, texture, or absorption profile. I check the product documentation, test the cleaner in a hidden area, and follow the more restrictive recommendation when the tile type is uncertain.
Grout care affects wood-look tile floors because grout joints collect soil, cooking grease, pet residue, and bathroom moisture even when the tile faces remain clean. I clean the tile surface first, then work on the grout with a soft nylon grout brush and a grout-safe cleaner. The brush should be narrow enough to contact the joint without repeatedly scraping the tile edges.
For routine grout cleaning, I apply a small amount of cleaner to a limited area, allow only the label-directed dwell time, agitate gently, and remove the dirty solution with a clean microfiber cloth. I avoid flooding the joint because excess water can carry loosened soil deeper into porous grout or beneath poorly sealed edges. A wet-dry vacuum can help collect dirty water during larger bathroom or kitchen cleaning projects.
Stain treatment should match the stain. Grease usually responds to a tile-safe alkaline cleaner, soap scum requires a bathroom product formulated for mineral and organic residue, and rust may require a specialized treatment that is compatible with the grout. I test every stain remover in an inconspicuous location because colorant, painted grout, epoxy grout, and cement grout do not respond identically.
Sealed grout is easier to maintain, but sealing does not make grout permanently stain-proof. I follow the grout and sealer manufacturer’s instructions and check the joint periodically for darkening, water absorption, cracking, or powdering. Many installations benefit from reviewing the sealer condition once or twice a year, while heavily used kitchens, bathrooms, entryways, and pet areas may require more frequent inspection.
Before resealing, grout must be clean, dry, and structurally sound. Sealer should not be brushed broadly across glazed tile unless the product is specifically designed for that surface and any residue can be removed safely. I also repair cracked or missing grout before sealing because a sealer cannot correct movement, open joints, or water-related installation problems.
Textured wood-look ceramic tile needs directional cleaning. I first vacuum along the long grain of the plank, then use a microfiber mop that can contact the shallow grooves without leaving excess water behind. For embedded dirt, I use a soft nylon brush and short strokes that follow the texture rather than a hard circular scrubbing motion.
After agitation, I remove the dirty liquid immediately with a clean microfiber cloth or a well-wrung mop. Leaving dirty water on the floor allows suspended soil to settle back into the grain and grout joints. If the floor contains deep texture, a low-moisture hard-floor cleaning machine may help, but I test its brush pressure and solution volume in a small area first.
Furniture protection is part of cleaning care. Felt pads should be replaced when compressed or contaminated with grit, and heavy furniture should be lifted rather than dragged. I avoid rubber-backed mats that trap moisture unless they are labeled for tile floors and are lifted regularly for cleaning and drying.
A hazy floor after mopping usually has cleaner residue, mineral deposits, or loosened soil that was not removed during rinsing. I stop increasing the detergent concentration, rinse a small test area with clean water, and dry it immediately. If the test area improves, I repeat the low-moisture rinse across manageable sections using fresh microfiber pads.
Streaks often result from a dirty mop head, uneven solution distribution, excessive product, or sunlight drying the cleaner too quickly. I wash or replace the pad, reduce the amount of solution, and clean smaller sections away from direct heat or strong sunlight. Sticky residue requires removal rather than masking, so I do not apply polish, wax, oil soap, or another coating over the film.
Dullness can have several causes, including accumulated residue, abrasion from grit, an altered surface treatment, or grout haze from installation. A pH-neutral cleaner may correct residue but cannot restore tile that has been scratched or chemically etched. For persistent dull areas, I document the cleaner used, the tile finish, and the affected location before contacting the tile manufacturer or a qualified tile professional.
I avoid vinegar for routine cleaning unless the manufacturer approves it because repeated acidity can affect some grout and sealers. I use bleach only when a product label and the installation materials permit it, and I never combine bleach with vinegar, ammonia, or other cleaners. Ventilation, gloves, and label-directed contact time are essential when using stronger products.
Steam cleaning is not automatically safe for every wood-look ceramic tile floor. The tile face may tolerate heat, but grout, sealers, movement joints, adhesives, and installation details can have different limitations. I use steam only when the tile and grout manufacturers approve it, keep the tool moving, avoid prolonged exposure to one joint, and stop if moisture accumulates or grout begins to discolor.
Abrasive brushes, steel wool, scouring powders, and hard scraping tools can scratch glazed surfaces or wear the grout edge. I select soft nylon bristles, white non-abrasive pads, microfiber cloths, and tools sized for the joint. More force is not a substitute for correct dwell time and soil-specific chemistry.
I adjust cleaning frequency according to traffic, moisture, pets, and the type of soil entering the room. Kitchens and entryways usually need more frequent dry cleaning than bedrooms, while bathrooms need closer attention to grout moisture, soap residue, and ventilation. The following schedule provides a practical starting point.
| Frequency | Recommended care |
|---|---|
| Daily or every other day | Remove grit, wipe spills, check entry mats, and clean pet accidents promptly |
| Weekly | Damp mop with diluted pH-neutral cleaner and inspect visible grout joints |
| Every two to four weeks | Brush problem grout areas, clean under movable mats, and check furniture pads |
| Every one to three months | Deep clean kitchen or bathroom grout according to soil levels and ventilation |
| Every six to twelve months | Inspect grout sealer, movement joints, stains, cracks, and surface changes |
| After installation or renovation | Remove grout haze only with an approved product and method |
Homes with pets may need daily spot cleaning because urine, muddy paws, and food oils can discolor grout quickly. High-traffic entryways may need dry vacuuming twice a day during wet or sandy weather. I keep separate microfiber pads for kitchens, bathrooms, and general living areas to reduce cross-contamination.
Cleaning and grout care tips for wood-look ceramic tile floors are most effective when they combine dry soil removal, controlled damp mopping, pH-neutral products, separate grout cleaning, and regular inspections. I recommend starting with the least aggressive method: vacuum or dust mop, use a diluted tile-safe cleaner, rinse when residue remains, and dry the surface with microfiber. For stains, haze, or grout discoloration, match the product and method to the actual soil instead of using stronger chemicals by default.
The main precautions are simple but important: avoid excess water, abrasive tools, unapproved acids, mixed chemicals, and prolonged steam exposure. Promptly remove spills, protect the floor from tracked-in grit, and inspect grout sealer before applying another coat. Whether the installation uses Wood Ceramic Floor Tiles from JBN or another manufacturer, the safest routine is the one that follows the tile, grout, and cleaner instructions for the specific surface.
Feel free to reach out for any queries. We would be happy to help!
We look forward to working with you.
Navigation
Navigation
Contact Us
Telephone: 0086-757-83327093
E-mail: jbn002@jbnjbn.com
WhatsApp: +86 136 9028 1303
WeChat: +86 136 9028 1303
Address:Building 4, Area B, Ceramics International Trading Center, Jihua Xi Road, Foshan, Guangdong, China
Get in Touch
Get in Touch