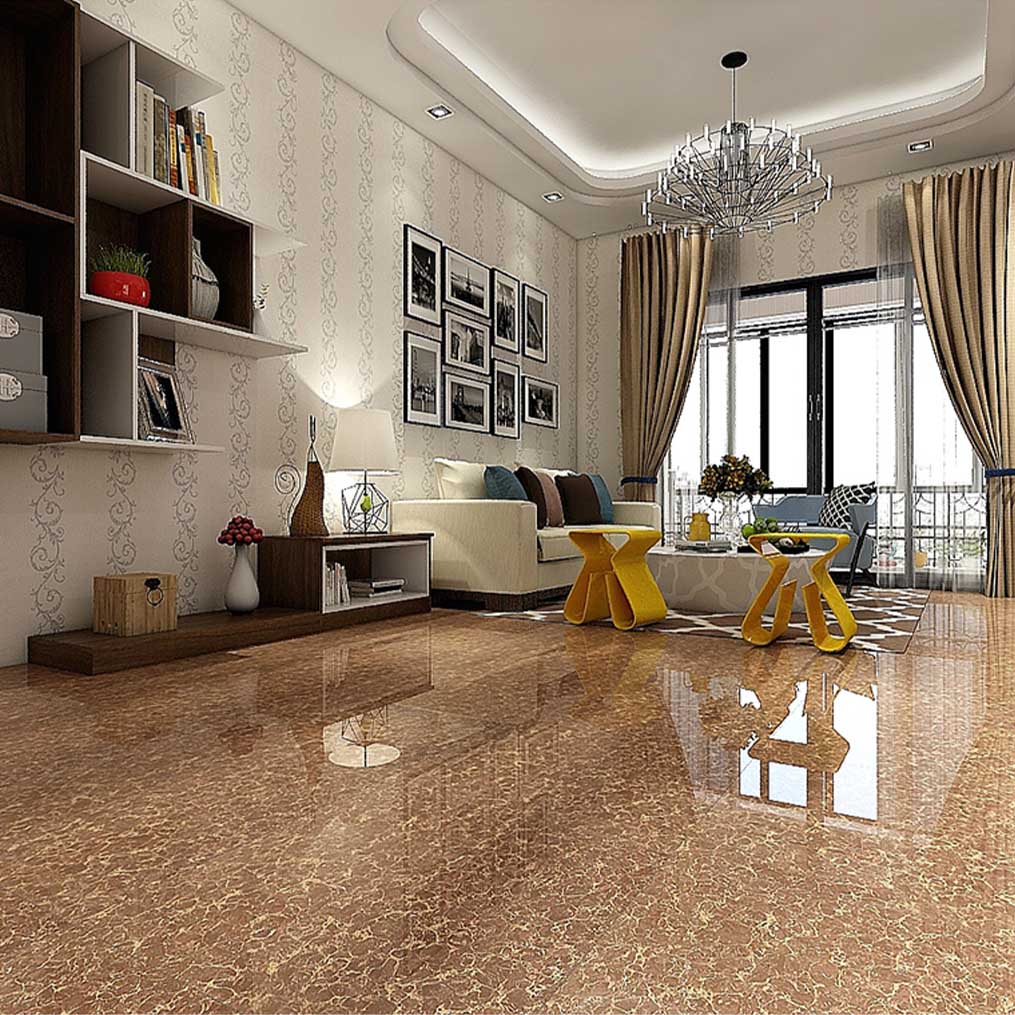
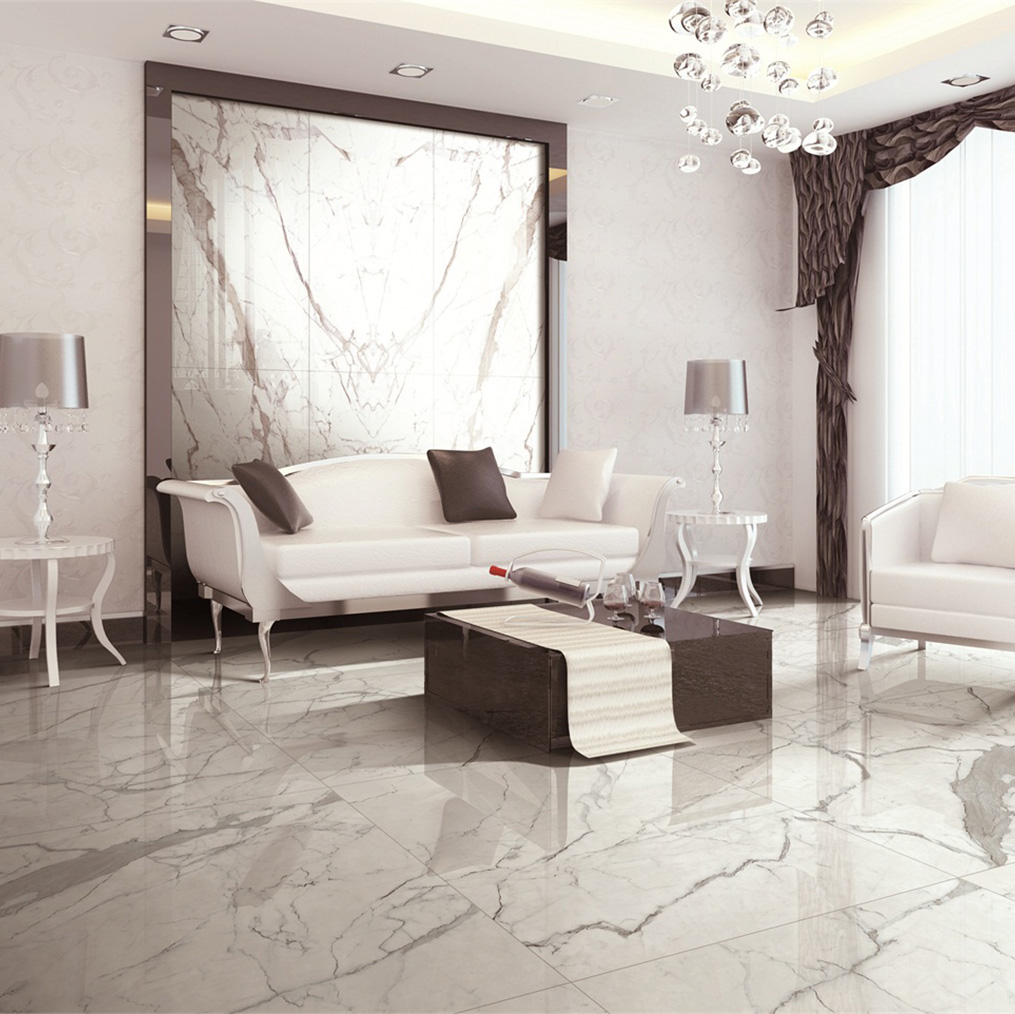
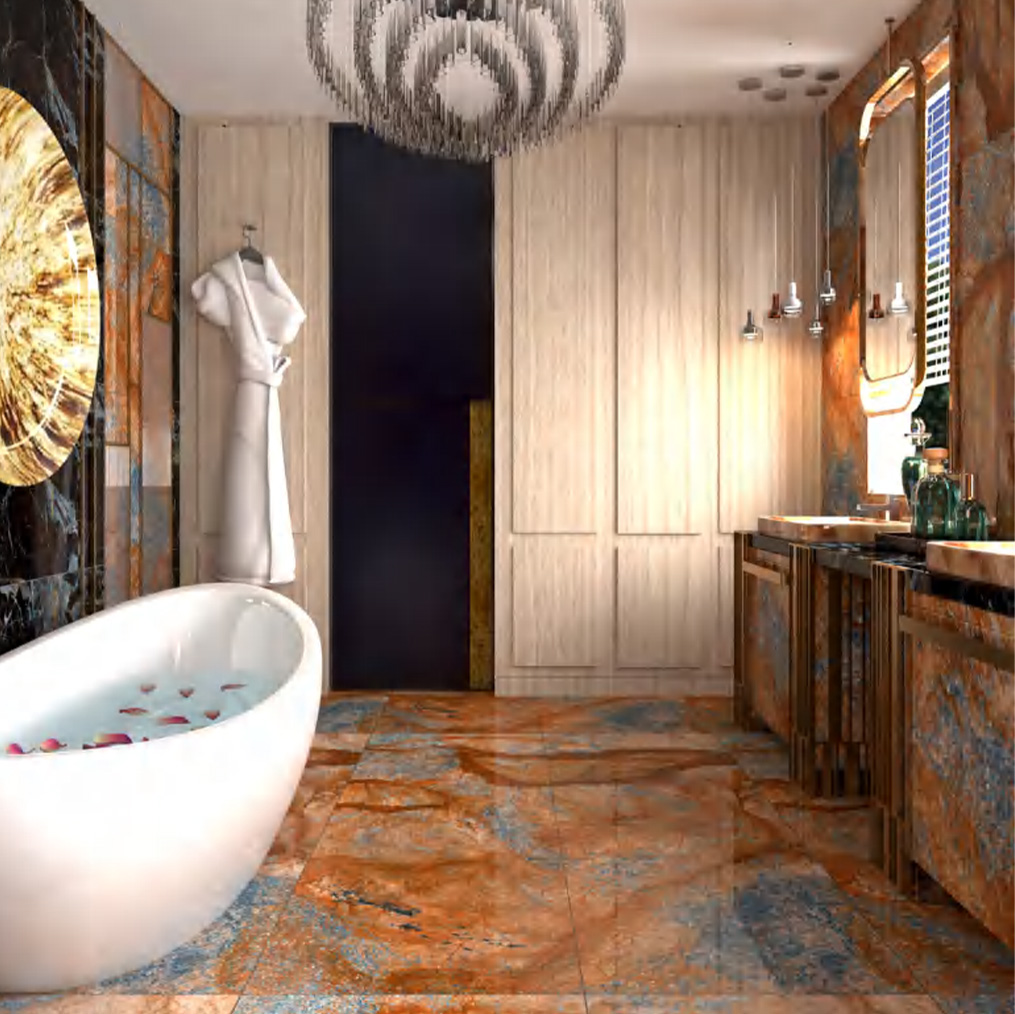
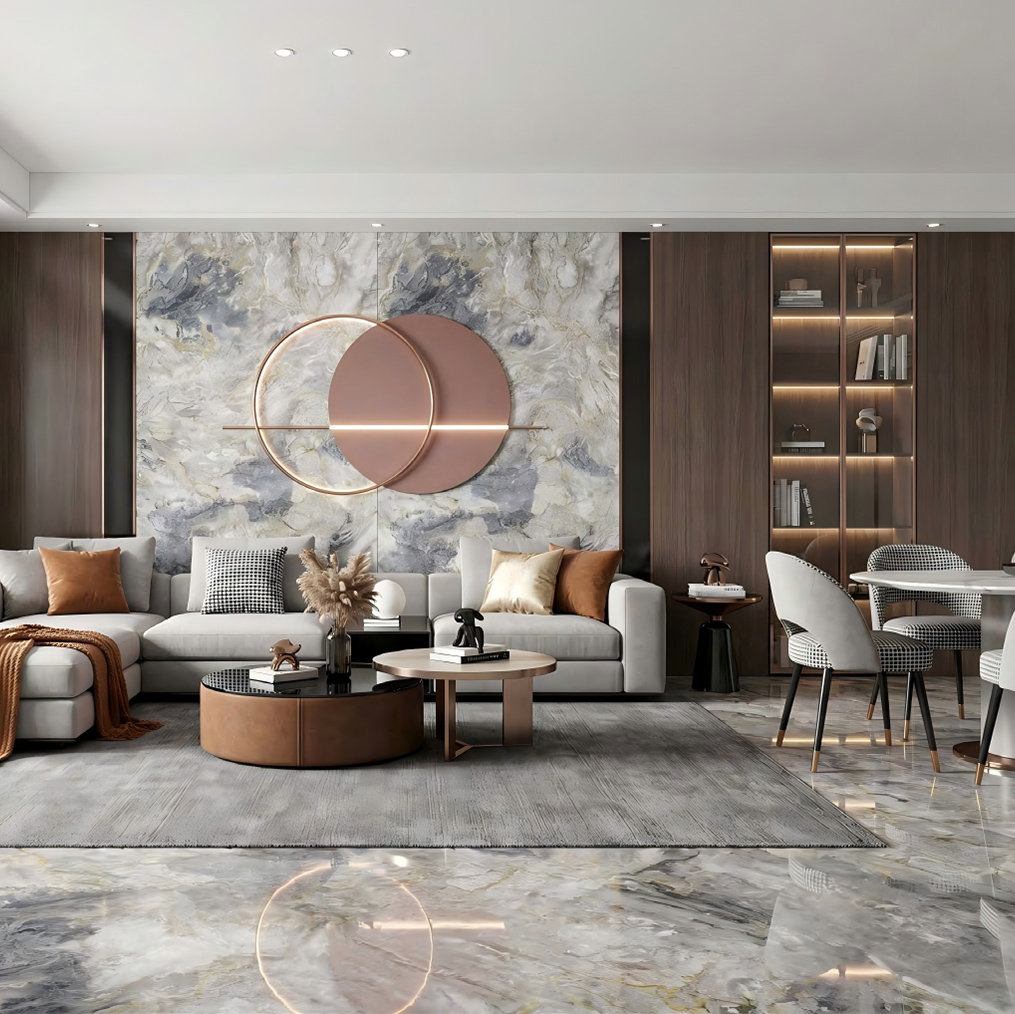
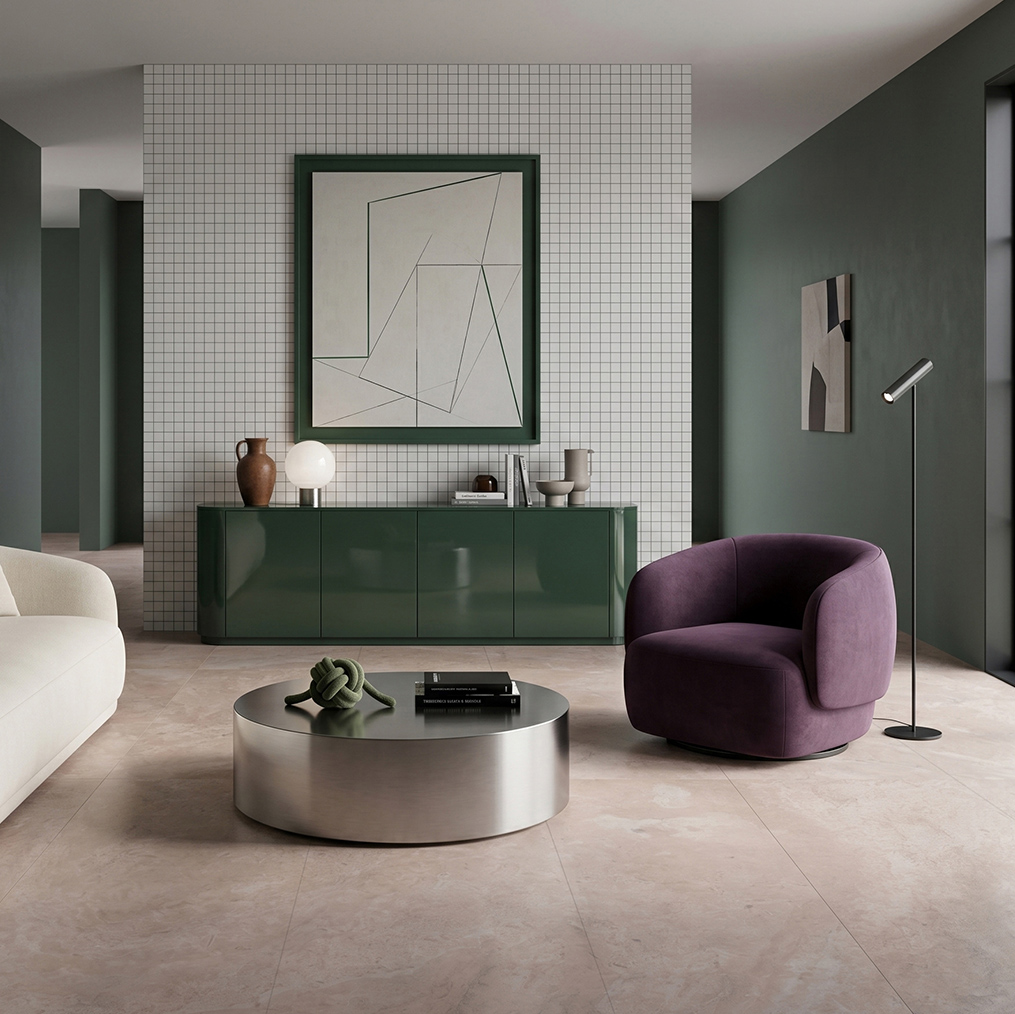
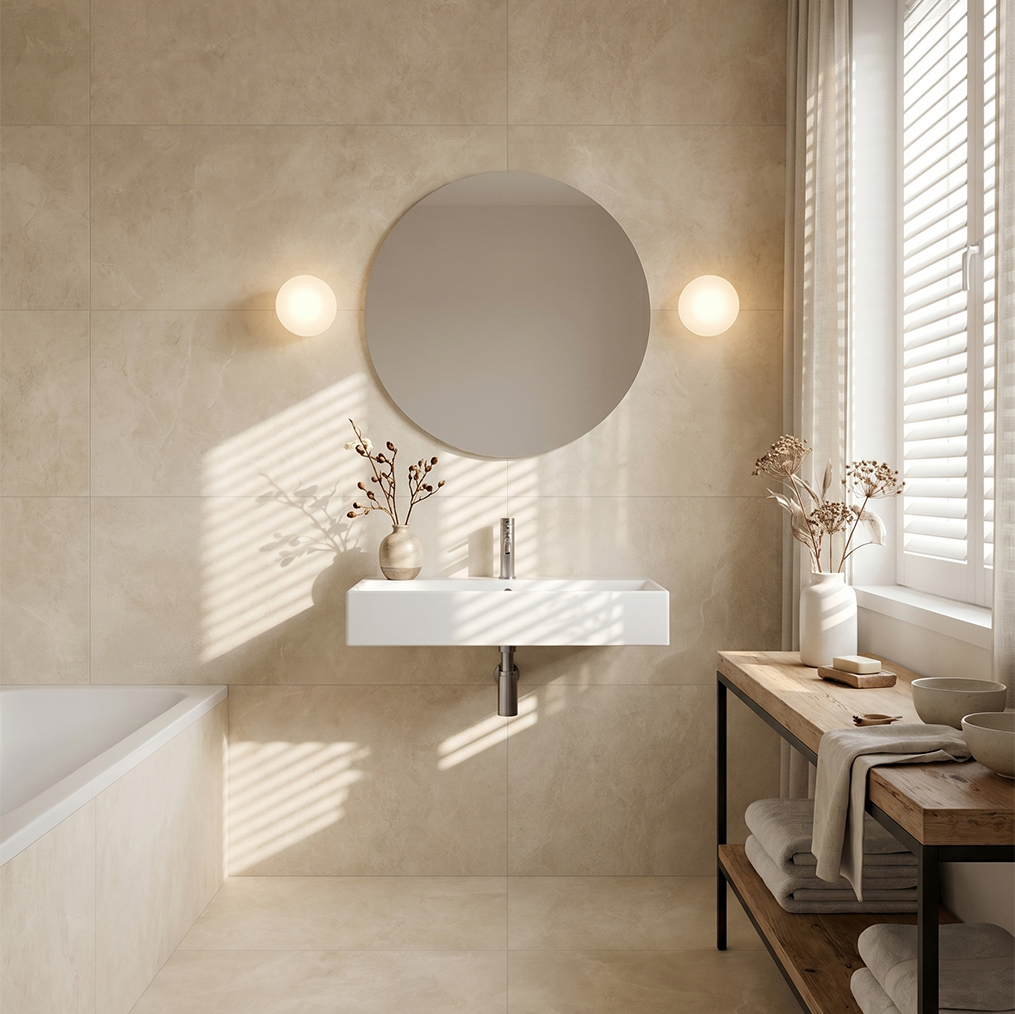
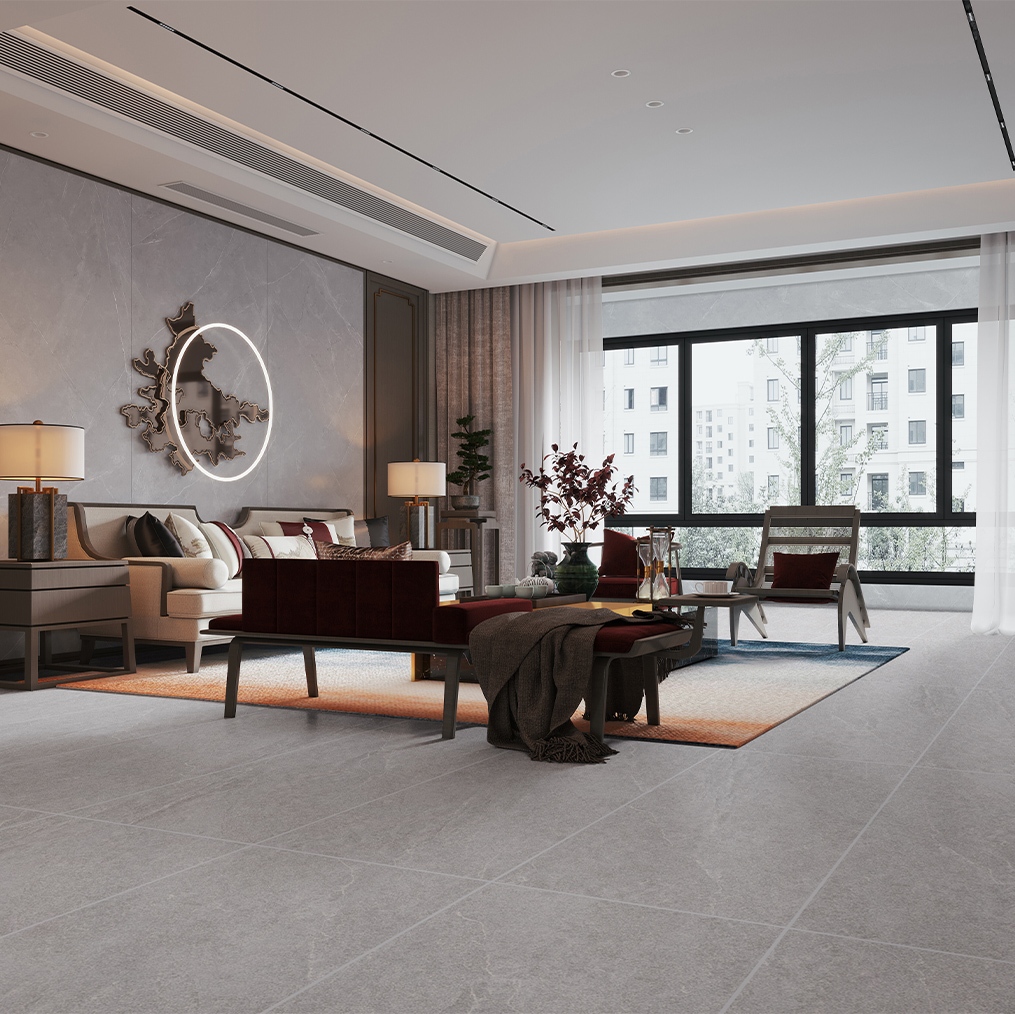
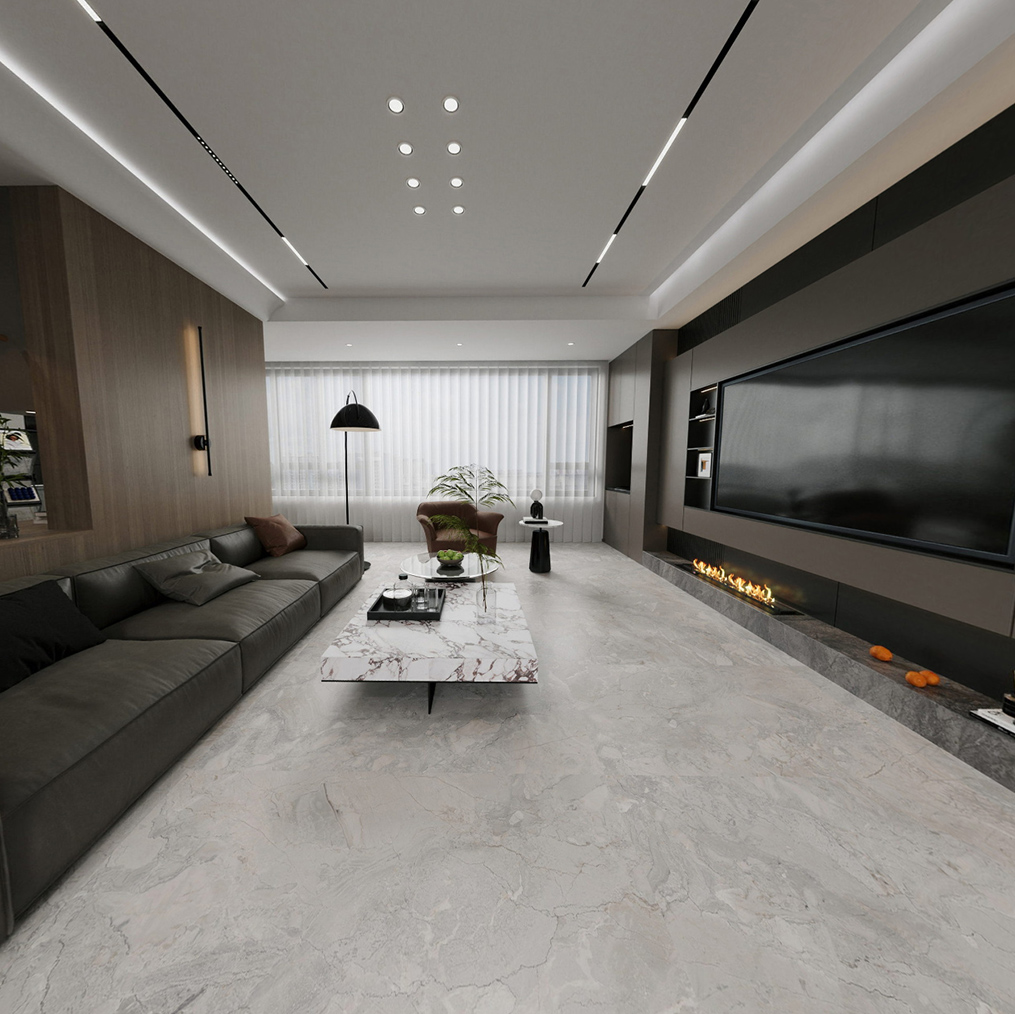
An experienced OEM Tile Supplier can help hotel developers, villa owners, architects, interior designers and purchasing teams select luxury porcelain tiles that combine visual quality, technical performance, installation efficiency and long-term value. This guide explains how to compare tile specifications, finishes, formats, colors, suppliers and project costs before placing an order with JBN or another qualified manufacturer.
Start by matching the tile to the project environment
Identify every application before selecting a design
The correct luxury porcelain tile depends on where it will be installed. A tile that performs well on a hotel bedroom wall may not be suitable for a wet lobby entrance, pool deck or commercial kitchen floor.
- Hotel lobbies need high abrasion resistance, stain resistance and a strong visual impact.
- Hotel corridors need durable surfaces that can withstand luggage wheels, cleaning equipment and heavy foot traffic.
- Guest rooms require quiet, comfortable and easy-to-maintain flooring or wall finishes.
- Hotel bathrooms require low water absorption, safe slip performance and resistance to cosmetics and cleaning chemicals.
- Villa living areas can prioritize large formats, natural stone appearance and design continuity.
- Villa kitchens require stain-resistant, heat-resistant and easy-to-clean surfaces.
- Outdoor terraces and pool areas require outdoor-rated products, suitable slip performance and resistance to weather changes.
- Feature walls can use polished, textured, fluted or book-matched porcelain products when structural loading and installation methods are confirmed.
Separate floors, walls and special areas
Do not assume that one tile collection can be used everywhere. Floor tiles need adequate wear resistance and slip performance. Wall tiles can focus more on weight, pattern, texture and installation method. Large slabs may require specialized handling and a qualified installation team.
- For floors, confirm wear resistance, slip performance, thickness and surface durability.
- For walls, confirm weight, flatness, adhesive compatibility and fixing requirements.
- For showers, confirm water resistance, joint layout and surface safety.
- For outdoor areas, confirm frost resistance, weather resistance and installation suitability.
- For stairs, confirm edge details, nosing solutions and cutting requirements.
Choose the technical specifications before the appearance
Check water absorption and classification
Porcelain tiles are generally selected for their very low water absorption. Ask the supplier for documented test data rather than relying only on the word "porcelain" in a product description.
- Ask for water absorption results tested according to a recognized standard such as ISO 10545-3 or ASTM C373.
- For bathrooms, kitchens and outdoor areas, prioritize a product with low water absorption and suitable environmental resistance.
- Confirm whether the tile is suitable for freeze-thaw conditions if it will be used outdoors in a cold climate.
- Request the product classification, technical data sheet and quality inspection report for the exact production batch.
Confirm wear resistance and intended traffic level
Luxury appearance does not automatically mean commercial durability. Hotels have different traffic patterns, so the required wear performance should be confirmed for each zone.
- Light-use areas may accept a wider range of surface finishes.
- Hotel entrances and public corridors need stronger abrasion resistance than private bedrooms.
- Retail, restaurant and reception areas should be evaluated for sand, dirt, chair movement and frequent cleaning.
- Ask whether the surface is suitable for commercial traffic and wheeled equipment.
- Confirm the applicable PEI rating or equivalent wear classification where relevant.
Evaluate slip resistance in wet and public areas
Slip safety should be selected according to the actual use condition, not only according to the tile's appearance. A highly polished floor may look luxurious but can become unsuitable in wet or contaminated areas.
- Request slip test results based on a recognized method such as ANSI A326.3, DIN 51130, DIN 51097 or an equivalent local standard.
- Use a suitable slip-resistant finish in hotel entrances, bathrooms, pool surrounds, kitchens and outdoor walkways.
- Consider the effect of water, oil, soap, dust, sand and cleaning chemicals.
- Balance safety with cleanability because heavily textured surfaces may require more maintenance.
- Do not use a polished finish in a wet area unless the supplier and project consultant confirm its suitability.
Check size, thickness, flatness and dimensional tolerance
Large-format porcelain tiles create a luxurious, continuous appearance, but they also require strict dimensional control and professional installation. Ask for the actual tolerance data for length, width, thickness, straightness and warpage.
- Common large formats include 600 x 1200 mm, 750 x 1500 mm, 900 x 1800 mm and larger slab formats.
- Rectified edges can support narrow joints but require an experienced installer and a level substrate.
- Thicker tiles may be useful for heavy-duty floors, outdoor applications or special structural requirements.
- Thin slabs can reduce weight but may require additional handling equipment and stricter installation controls.
- Confirm actual caliber, shade code and batch information before installation.
Build a luxury design that remains consistent across the property
Choose the visual direction and material effect
Luxury porcelain tiles are often selected to reproduce the appearance of marble, limestone, travertine, terrazzo, concrete, wood or natural stone. The best choice should support the overall interior concept rather than compete with furniture, lighting and architectural details.
- Marble-look porcelain creates a formal and high-end appearance for lobbies, bathrooms and feature walls.
- Travertine and limestone effects create a warm, natural atmosphere for villas and resort interiors.
- Concrete-look tiles support modern, minimalist and industrial designs.
- Terrazzo-look tiles add visual movement to public areas while reducing the maintenance concerns of real terrazzo.
- Wood-look porcelain is suitable for areas that need a natural appearance with stronger moisture resistance than many natural wood products.
- Textured and fluted tiles can be used for feature walls, reception backgrounds and decorative partitions.
Control shade variation and pattern repetition
A natural stone design looks more convincing when the printed faces vary naturally. However, excessive repetition can make a large floor look artificial. Ask the manufacturer how many different face images are available in the collection.
- Request high-resolution images of every available face.
- Ask for the recommended installation layout for random or directional patterns.
- Confirm whether the design is full-body, through-body, glazed or digitally printed.
- Check whether polished and matte surfaces have the same pattern alignment.
- Review shade variation samples under daylight, warm lighting and cool lighting.
- Approve a physical mockup before ordering a large quantity.
Plan color, grout and transition details together
Tile color cannot be judged separately from grout, lighting, furniture and adjacent materials. A small sample may look different when repeated across a large lobby or villa floor.
- Compare warm and cool lighting conditions.
- Test the tile beside cabinetry, stone, wood, metal and painted walls.
- Choose grout color after viewing a larger sample area.
- Use movement joints and perimeter joints according to the project specification.
- Plan transitions between tile, carpet, wood, stone and exterior paving before installation.
- Confirm whether the tile pattern needs directional alignment or book matching.
Follow a step-by-step tile selection process
First step: define the project brief
Write down the project type, areas, expected traffic, target style, completion date, budget and maintenance requirements. This prevents the purchasing team from choosing products only because they look attractive in a showroom.
- Project type: hotel, villa, resort, restaurant, retail space or private residence.
- Installation area: floor, wall, bathroom, kitchen, balcony, pool area or facade.
- Expected traffic: residential, light commercial, heavy commercial or outdoor traffic.
- Design goal: marble, stone, concrete, wood, terrazzo, solid color or decorative texture.
- Required format: standard tile, large format, slab, mosaic or custom size.
- Required delivery date and estimated project quantity.
Second step: calculate the actual quantity
Measure each area separately and add a realistic allowance for cutting, breakage, future repairs and pattern matching. Large-format or directional designs may require a higher allowance than simple square tiles.
- Measure the length and width of each rectangular area.
- Calculate the basic area in square meters.
- Subtract permanent openings that will not receive tile.
- Add extra material for cuts, corners and installation waste.
- Add additional stock for natural-looking pattern selection and future replacement.
- Round the final quantity according to the supplier's box and pallet packing rules.
A typical allowance may range from 5 percent to 10 percent for standard layouts. Complex patterns, diagonal installation, large slabs and book-matched designs may require more. Confirm the allowance with the installer and project manager.
Third step: create a technical shortlist
Reduce the supplier's product range to products that already meet the technical requirements. This saves time and prevents the design team from approving a tile that cannot be used in the intended area.
- Filter by water absorption.
- Filter by surface finish and slip performance.
- Filter by thickness and format.
- Filter by abrasion resistance and commercial suitability.
- Filter by indoor or outdoor application.
- Filter by stock availability and production lead time.
Fourth step: order physical samples
Digital images are useful for initial screening but are not sufficient for final approval. Physical samples reveal gloss, texture, color variation, edge quality, thickness and visual scale.
- Request samples from the same collection and intended finish.
- Ask for samples large enough to show the pattern and surface texture.
- Inspect the tile under the project's expected lighting.
- Place several pieces together to evaluate repetition and shade variation.
- Test the surface with water, oil, soap or common stains when appropriate.
- Keep an approved reference sample signed by the designer, purchaser and supplier.
Fifth step: inspect a mockup installation
A mockup is especially important for hotels, villas and high-end interiors because the final appearance depends on joint width, layout direction, lighting and surrounding materials.
- Select a representative area with corners, doors, fixtures or transitions.
- Install several tiles using the proposed adhesive, grout and joint width.
- Review the pattern from normal viewing distance and close range.
- Check alignment, lippage, edge condition and color consistency.
- Approve the mockup in writing before mass installation.
- Use the approved mockup as the quality reference for the rest of the project.
Sixth step: verify supplier and production capability
Supplier verification is essential when the project requires large quantities, repeated batches, custom colors or strict delivery dates. A factory should be able to provide consistent production and clear technical documentation.
- Review the manufacturer's product catalog and factory information.
- Request test reports and quality certificates for the selected product.
- Confirm minimum order quantity and sample approval procedures.
- Ask how shade and caliber are controlled between production batches.
- Confirm packaging, palletization and container loading methods.
- Check lead time for samples, mass production and replacement orders.
- Ask whether OEM color, size, surface or packaging services are available.
Seventh step: approve the purchase order and quality controls
The purchase order should describe the exact product rather than using only a collection name or showroom photograph.
- Product code and collection name.
- Tile size and thickness.
- Surface finish.
- Color, shade and caliber requirements.
- Quantity in square meters, boxes and pallets.
- Packaging and labeling requirements.
- Approved sample reference.
- Inspection method and acceptable quality limits.
- Delivery schedule and replacement procedure.
Eighth step: inspect the shipment before installation
Inspect the shipment when it arrives, not after all tiles have been installed. Early inspection allows the purchasing team to identify damage, incorrect quantities or shade differences while replacement options are still available.
- Check the number of pallets, boxes and labels.
- Compare product codes, shade and caliber with the purchase order.
- Open random cartons from different pallets.
- Check for cracks, chipped corners, warpage, printing defects and surface damage.
- Lay several tiles together to check color and pattern consistency.
- Record photographs, carton numbers and inspection results.
- Store the approved material in a dry and protected area before installation.
Use the right tools for selection, inspection and installation
Required tools for planning and measurement
- Laser distance meter or measuring tape.
- Floor plan and elevation drawings.
- Project quantity spreadsheet.
- Tile layout drawing.
- Lighting plan and material sample board.
- Color card and grout sample card.
- Camera or smartphone for recording samples and mockups.
Required tools for tile inspection
- Steel straightedge for checking flatness and warpage.
- Caliper for checking thickness.
- Digital scale when weight verification is required.
- Square ruler for checking edge alignment.
- Clean water and test cloth for basic surface observation.
- Approved sample for color and finish comparison.
- Inspection checklist and batch records.
Required tools for professional installation
- Suitable tile cutter or wet saw with a diamond blade.
- Large-format tile handling frame and suction cups.
- Notched trowel selected for the tile size and substrate.
- Leveling system for large-format tiles.
- Tile spacers and movement joint materials.
- Compatible cement-based or reactive adhesive.
- Rubber mallet and leveling tools.
- Grout float, sponge and cleaning equipment.
- Personal protective equipment including gloves, safety glasses and hearing protection.
Compare total project value instead of unit price alone
Calculate the complete installed cost
The cheapest tile per square meter may become the most expensive option if it causes high waste, slow installation, frequent replacement or difficult maintenance. Compare the total cost of ownership.
- Tile purchase price.
- Shipping, insurance and import charges.
- Packaging and special crating for large formats.
- Adhesive, grout, sealant and movement joint materials.
- Cutting, handling and installation labor.
- Wastage and replacement stock.
- Cleaning and maintenance costs.
- Expected service life and replacement risk.
Compare factory supply with distributor supply
A local distributor may offer faster delivery and easier small-quantity purchasing. A direct factory or OEM Tile Supplier may offer better control over price, design, packaging, custom production and long-term batch consistency.
- Choose a distributor when immediate local stock and small quantities are the priority.
- Choose a direct factory when the project requires large volume or repeated supply.
- Choose an OEM manufacturer when custom color, size, surface, pattern or packaging is required.
- Confirm whether after-sales support is available in the project country.
- Compare lead time, quality control, documentation and communication, not just price.
Protect future replacement requirements
Hotels and villas may need replacement tiles years after completion. A product that is discontinued or supplied with inconsistent shade can make repairs visible.
- Purchase and store a reasonable quantity of spare tiles.
- Record the product code, shade, caliber and production date.
- Keep approved samples and installation drawings in the project file.
- Ask the supplier how long the collection is expected to remain available.
- For large projects, divide production into controlled batches with clear shade records.
Avoid the most common luxury tile purchasing mistakes
Mistake one: choosing from photographs only
Online images cannot accurately show surface texture, gloss, color variation, edge quality or scale. Always approve a physical sample and, for major projects, a full installation mockup.
Mistake two: using polished tiles in every area
Polished tiles can deliver an elegant appearance, but they may be unsuitable for wet floors, pool surrounds, outdoor walkways or areas exposed to oil and water. Select the finish according to safety and maintenance requirements.
Mistake three: ignoring substrate quality
Even a high-quality porcelain tile can crack, sound hollow or develop lippage when installed over an uneven, weak or moving substrate. Check substrate flatness, moisture, strength and movement joints before installation.
Mistake four: ordering too little material
Insufficient quantity can lead to mismatched replacement tiles, delayed completion and additional shipping costs. Include cutting waste, pattern selection and future repairs in the quantity plan.
Mistake five: mixing different batches without inspection
Tiles from different production batches may vary in shade, caliber or pattern distribution. Keep batches separated and blend cartons according to the manufacturer's recommendations.
Mistake six: selecting narrow joints without checking tolerances
Rectified tiles and narrow joints require accurate sizing, a level substrate and professional workmanship. A narrow joint may highlight dimensional variation and installation errors instead of creating a cleaner appearance.
Mistake seven: failing to confirm cleaning and maintenance requirements
Some textured, honed or highly detailed surfaces collect more dirt than smooth surfaces. Ask for the recommended cleaning method and confirm compatibility with hotel cleaning chemicals, kitchen products and bathroom detergents.
Mistake eight: approving a product without confirming supply capacity
A sample may be attractive, but the supplier must also be able to produce the required quantity within the project schedule. Confirm factory capacity, production lead time, packing details and quality inspection procedures before approval.
Use a final approval checklist before placing the order
Product checklist
- Application and installation area are clearly defined.
- Water absorption and product classification are documented.
- Wear resistance is appropriate for the expected traffic.
- Slip performance is suitable for the environment.
- Size, thickness, caliber and dimensional tolerances are confirmed.
- Surface finish and pattern variation are approved.
- Cleaning and maintenance instructions are available.
Design checklist
- Physical samples have been viewed under project lighting.
- Several tiles have been placed together to check repetition.
- Grout color and joint width have been approved.
- Transitions, corners, stairs and drains have been planned.
- A mockup has been reviewed where the project is large or complex.
- Approved samples are stored for future quality comparison.
Supplier checklist
- The supplier has provided technical documents for the exact product.
- Minimum order quantity and lead time are acceptable.
- Shade and caliber control procedures are clear.
- Packaging can protect the tiles during international or local transport.
- Replacement and complaint procedures are documented.
- OEM options have been discussed when custom requirements exist.
- The purchase order includes all approved specifications.
Make the final decision with a balanced scoring system
Score each shortlisted tile by project priority
A simple scoring system helps purchasing groups avoid choosing a product based only on appearance or the lowest quotation. Assign each candidate a score from 1 to 5 for every important category.
- Design suitability.
- Technical performance.
- Slip safety.
- Dimensional accuracy.
- Maintenance requirements.
- Installed cost.
- Production capacity.
- Delivery reliability.
- Documentation and quality control.
- Replacement and after-sales support.
Select the tile that meets the complete project brief
The best luxury porcelain tile is not necessarily the most expensive, largest or most polished option. It is the product that delivers the required visual effect while meeting performance, safety, installation, budget and supply requirements.
For hotels, villas and high-end interiors, work with a qualified OEM Tile Supplier that can provide consistent porcelain tile quality, reliable documentation, flexible production and professional project support. JBN can help purchasing teams move from concept selection to samples, custom development, mass production and delivery with a clear specification-based process.