12,Oct 2026
Choosing a bathroom floor should not begin with color alone. A reliable Porcelain and Ceramic Tile Supplier should provide wet-test data, water absorption, surface-finish details, and installation guidance. If you are comparing the best non-slip bathroom floor tiles, looking for bathroom floor tile for wet areas, or learning how to choose slip-resistant porcelain tile, focus on measurable performance: wet dynamic coefficient of friction (DCOF), textured surface, and water absorption. These factors matter when soap, shampoo, and standing water turn a smooth floor into a fall hazard.
The most common problems are predictable: polished tiles become slippery when wet, large tiles create awkward slopes around a shower drain, deep textures trap hair and soap, and attractive samples often provide no verified slip data. This guide explains how to compare tiles, test samples, prepare the floor, install them correctly, and avoid the mistakes that cause many bathroom renovations to fail.

A dry tile may feel perfectly safe under bare feet, yet its performance can change substantially after water or soap is added. Slip resistance depends on the interaction between the foot, the contaminant, the tile surface, footwear, and the direction of movement.
Slip resistance is not determined by one label such as “matte” or “anti-slip.” A matte tile can still be unsafe when wet, while a lightly structured tile may provide adequate traction without being difficult to clean.
For many interior, level, wet areas, ANSI A326.3 commonly uses a wet DCOF value of 0.42 or higher as a reference for tiles expected to be walked on when wet. This is not a guarantee that every person will avoid slipping. It is a laboratory performance classification that must be interpreted together with the installation environment.
Ask the OEM Tile Supplier these questions:
Do not compare a wet DCOF value directly with a DIN R-rating. DIN 51130 classifications such as R9, R10, and R11 are primarily associated with ramp testing using footwear and oil. Barefoot shower areas are better evaluated with a method intended for barefoot conditions, such as DIN 51097 classifications A, B, or C, where applicable. Different testing methods measure different conditions.
Porcelain tile is generally classified as having water absorption of 0.5% or less under common industry standards. Lower absorption improves resistance to moisture penetration through the tile body, but it does not automatically make the surface slip-resistant. A porcelain tile can be durable and water-resistant while still being dangerously smooth when wet.
For bathroom floors, confirm:
| Specification | Why It Matters | What to Request |
|---|---|---|
| Wet DCOF | Indicates traction under a defined wet test condition | Test method, value, and product finish |
| Water absorption | Shows how much moisture the tile body can absorb | Percentage and applicable standard |
| Breaking strength | Helps assess resistance to loading after proper installation | Technical data sheet, especially for large formats |
| Surface finish | Influences traction, cleaning, and appearance | Matte, structured, honed, lappato, or polished description |
| Shade and caliber variation | Affects layout and replacement matching | Batch details and recommended installation direction |
Tile size must match the drainage design. In a standard shower area with a center drain, small mosaics—often 50 × 50 mm or 100 × 100 mm—allow the installer to form multiple planes with more grout joints. Large tiles may work better with a linear drain positioned along one wall.
A commonly used shower floor slope is approximately 1/4 inch per foot, or about 2% slope, toward the drain. Local building codes may vary, so confirm the requirement with your contractor or authority having jurisdiction.
Before visiting a showroom or requesting samples from JBN, prepare the following information. It prevents you from choosing a tile that looks suitable but cannot be installed correctly in your room.
You do not need to reproduce a certified laboratory test at home, but a sample comparison can reveal obvious differences. Prepare:
Never perform a sliding test by running, jumping, or deliberately stepping onto a wet tile at height. Place samples flat on a stable surface, hold a support, and stop when the sample feels unstable. A home test is only a screening exercise, not a replacement for certified testing.
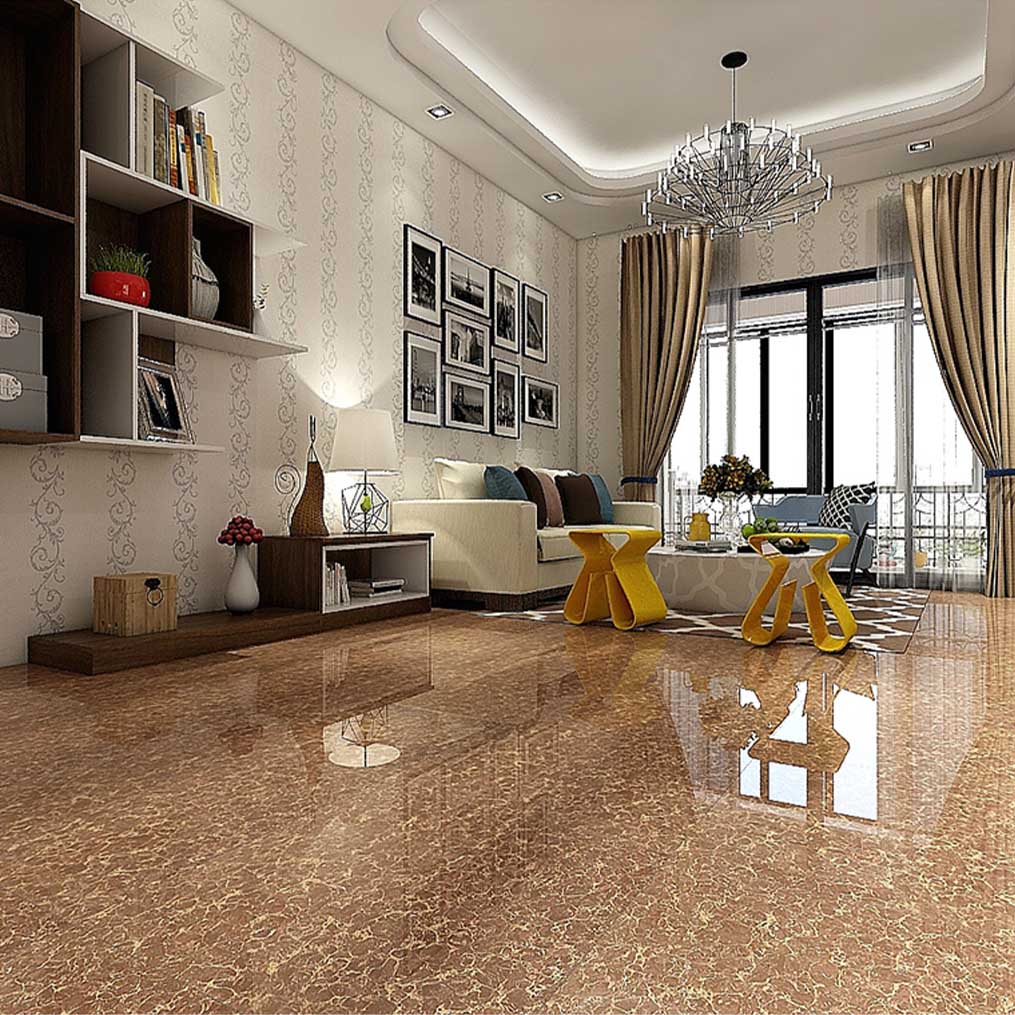
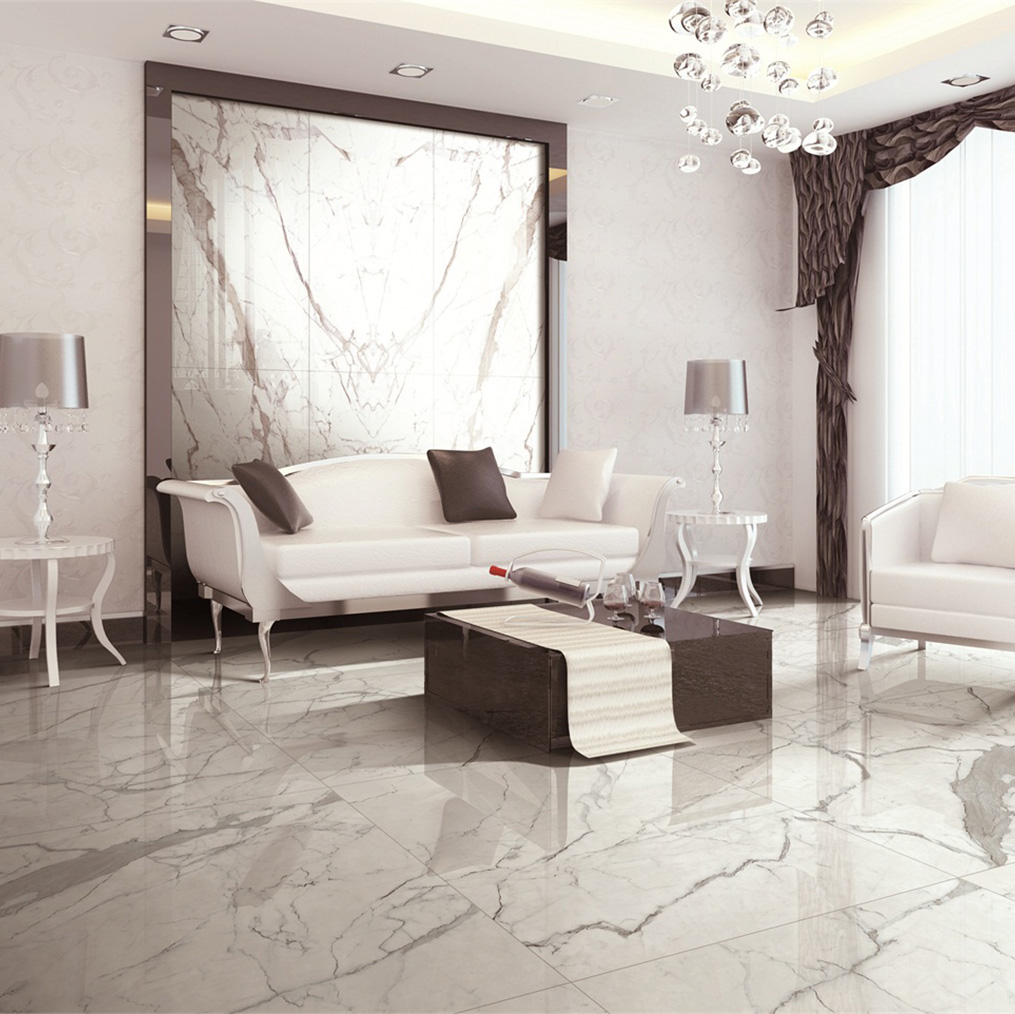
Remove highly polished and mirror-like tiles from the shortlist unless the manufacturer specifically documents their suitability for the intended wet floor. Polished stone-look porcelain may be appropriate for walls, backsplashes, or dry areas but can be a poor choice for a shower floor.
Look for matte, honed, micro-textured, or structured surfaces. Avoid assuming that a rougher texture is always safer; extremely deep texture can make cleaning difficult and may create pressure points under bare feet.
Place each product’s technical information side by side. Give priority to the tile for which the supplier can provide a test method, date, surface finish, and intended-use category. A vague marketing statement such as “super anti-slip” is less useful than a documented wet DCOF result and a clear installation recommendation.
If two tiles have similar test values, choose the one that also offers consistent shade, manageable cleaning, suitable water absorption, and a format that works with the drain.
Record the product name, finish, size, DCOF information, cleaning effort, and your observations. This simple comparison is more reliable than choosing from a small dry showroom display.
For a compact shower with a center drain, mosaic sheets can simplify slope formation. However, mosaics create more grout joints, so grout maintenance increases. For a larger bathroom with a linear drain, medium or large-format tiles may reduce joints and create a cleaner appearance.
Do not select a large tile solely because it produces fewer grout lines. If the installer must force the tile into a compound slope, the result may include lippage, poor drainage, or narrow triangular cuts.
Grout does not turn an unsafe polished tile into a safe floor. Nevertheless, grout joints contribute to underfoot texture and affect maintenance. Follow the tile manufacturer’s minimum joint recommendation. Rectified tiles commonly require narrower joints than pressed tiles, but they still need a joint that accommodates dimensional variation and movement.
Use a grout compatible with the expected moisture and cleaning conditions. Cementitious grout may require sealing, while some high-performance cementitious, epoxy, or hybrid grouts offer lower absorption. The correct choice depends on the manufacturer’s instructions, joint size, chemical exposure, and installer skill.
A non-slip tile cannot compensate for a leaking or poorly sloped substrate. Confirm that the project includes:
In one homeowner case, Elena was renovating a narrow bathroom used by two adults and a young child. Her initial preference was a polished 600 × 1200 mm marble-look porcelain tile because it created fewer grout lines. During the layout review, the contractor identified a center shower drain and a floor area only about 900 mm wide. The large tile could not form the required slope in multiple directions without awkward cuts.
Elena compared three samples: polished porcelain, matte 300 × 600 mm porcelain, and 100 × 100 mm textured porcelain mosaic. The polished sample became noticeably slick after a thin layer of soapy water. The 300 × 600 mm tile performed better but required careful cuts around the drain. The mosaic allowed the installer to follow the slope with smaller sections and provided more frequent grout joints underfoot.
She ultimately used the medium-format matte tile in the main bathroom area and the smaller textured mosaic in the shower. The important improvement was not a promise of “100% slip-proof” performance. It was a design change based on drainage, wet traction, cleaning, and the actual movement pattern in the room. The supplier’s technical documentation and the contractor’s slope plan were reviewed before the final order.
This case illustrates a practical principle: the safest-looking tile is not necessarily the safest complete floor system. Tile format, drain location, waterproofing, grout, and maintenance must work together.
Problem: Matte describes light reflection, not a certified traction level.
Solution: Request wet DCOF or an applicable barefoot slip-resistance classification. Then inspect the exact surface finish being purchased.
Problem: Ramp classifications are associated with particular test conditions and footwear. They do not automatically predict barefoot performance in a soapy shower.
Solution: Match the test method to the use case. Ask for barefoot-area information for shower floors and wet DCOF information for level interior areas where applicable.
Problem: Large tiles may not follow a multi-directional slope without lippage or standing water.
Solution: Use smaller tiles, a linear drain, or a professionally designed drainage layout.
Problem: Very aggressive texture can hold soap, hair, and mineral deposits. Cleaning then becomes inconsistent, which can reduce surface performance.
Solution: Choose a texture that provides measurable traction but can be reached with a soft brush or mop. Request a cleaning demonstration or maintenance sheet.
Problem: A bathroom floor may be slip-resistant but still create a trip hazard at the doorway or shower entry.
Solution: Confirm finished floor heights, transition profiles, accessibility requirements, and door clearance before installation.
Problem: Coatings can change color, reduce stain resistance, interfere with cleaning, or void the tile warranty.
Solution: Use only a product approved for the tile surface, test it in an inconspicuous area, and follow the coating manufacturer’s preparation and curing instructions.
Problem: Oil-based soaps, waxes, silicone residues, and unsuitable detergents can leave a low-friction film.
Solution: Use a neutral cleaner recommended for the tile and grout. Rinse thoroughly and remove standing water where practical.
Hard-water areas may develop calcium deposits that change the feel of the tile. Use a compatible descaling method only after confirming that it will not damage cement grout, natural stone, metallic trim, or the tile glaze.
Start with the actual risk rather than the appearance. For a shower floor, prioritize documented wet or barefoot traction, manageable texture, suitable tile size, and a drainage plan. For the main bathroom floor, compare wet DCOF, water absorption, cleaning requirements, and transition safety. A porcelain surface with water absorption of 0.5% or less may be an excellent moisture-resistant choice, but it still requires an appropriate finish and proper installation.
When requesting samples from JBN or another OEM Tile Supplier, ask for the exact technical sheet for the selected color and finish. Verify the test method, review the drain layout, purchase 10–15% extra material when the room is complex, and have the installer confirm slope and waterproofing before the tile is fixed. These steps address the three details that matter most in the final paragraph: wet dynamic coefficient of friction, textured surface behavior, and water absorption.
Not automatically. Porcelain generally has lower water absorption and high durability, but slip resistance depends on the surface finish, texture, contamination, and test result. A textured ceramic tile may provide more traction than a polished porcelain tile.
No. A wet DCOF value of 0.42 or higher is a commonly referenced performance criterion for certain level interior wet applications, but it is not a universal guarantee of safety. Shower floors, barefoot conditions, slopes, soap contamination, mobility limitations, and local regulations may require additional evaluation.
Small mosaics, such as 50 × 50 mm or 100 × 100 mm, are often easier to slope toward a center drain. Medium or large tiles may be suitable with a linear drain or a carefully engineered shower pan. The best size is the one that follows the drainage geometry without excessive cuts or lippage.
It can be suitable in some dry or lightly splashed areas if the manufacturer documents the intended use, but it is generally a cautious choice for shower floors. Always check wet traction data rather than relying on appearance.
More grout joints may increase contact edges and help smaller tiles follow a slope, but grout alone does not make a slippery tile safe. Joint width, grout condition, cleaning, and the tile’s own wet performance all matter.
Some treatments can increase surface roughness, but performance, appearance, durability, and warranty effects vary. The treatment must be tested on the exact tile and approved by the tile and chemical manufacturers. Selecting a suitable tile before installation is usually more predictable than modifying an unsuitable surface afterward.
Feel free to reach out for any queries. We would be happy to help!
We look forward to working with you.
Navigation
Navigation
Contact Us
Telephone: 0086-757-83327093
E-mail: jbn002@jbnjbn.com
WhatsApp: +86 136 9028 1303
WeChat: +86 136 9028 1303
Address:Building 4, Area B, Ceramics International Trading Center, Jihua Xi Road, Foshan, Guangdong, China
Get in Touch
Get in Touch