18,Nov 2026
To clean textured rustic tiles safely, first identify the tile material and finish, remove loose grit, apply a compatible low-residue cleaner, gently brush into the recessed texture, rinse with clean water, dry completely, and patch-test any stronger stain treatment. I use this sequence because textured surfaces hold soil differently from smooth tiles, while matte finishes can show residue, abrasion, and uneven color after aggressive cleaning.
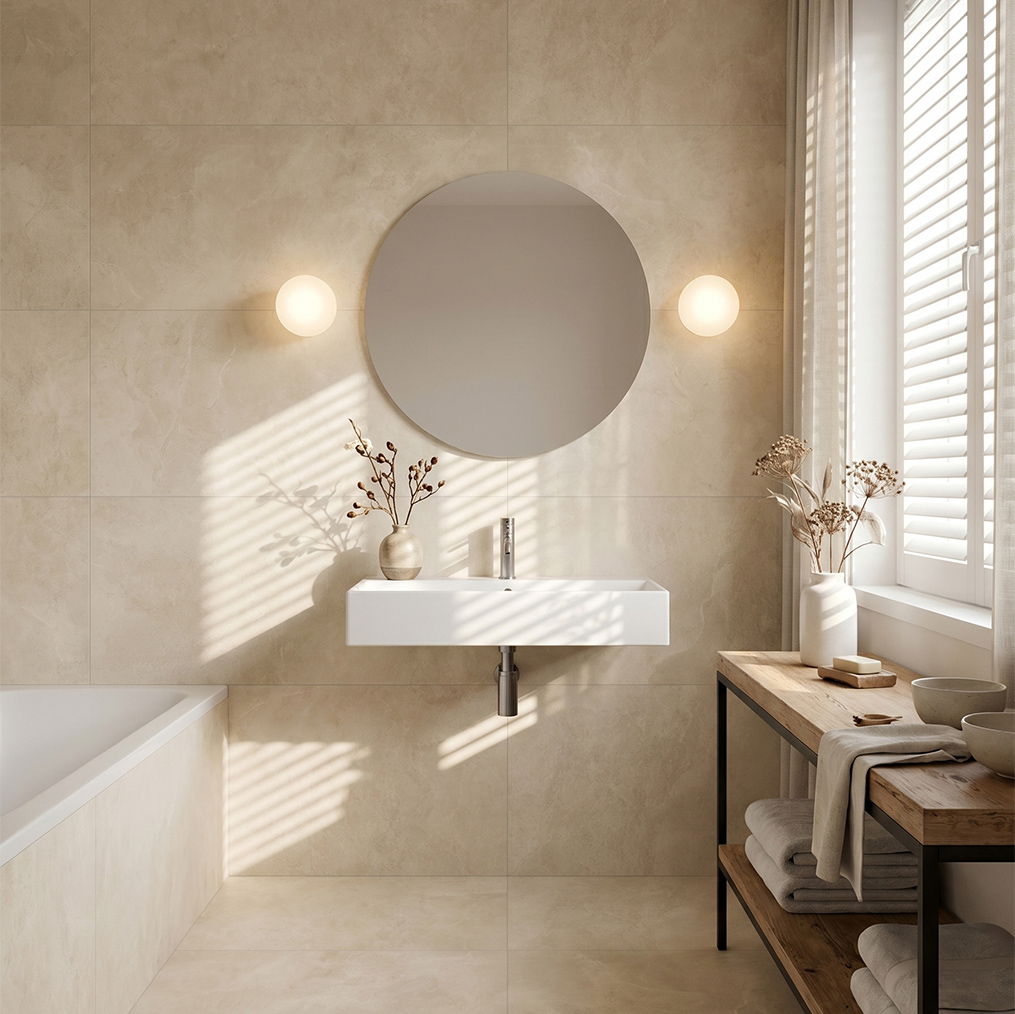
Rustic tile may refer to glazed porcelain, glazed ceramic, unglazed ceramic, terracotta, cement tile, or natural stone. Each material reacts differently to acidic products, alkaline cleaners, sealers, heat, and moisture. The method below is designed for homeowners who need a practical approach for floors, kitchens, bathrooms, entryways, and other areas containing Rustic Ceramic Tile or similar matte textured surfaces.
!
The safest cleaning method depends on what the tile is made from, whether the surface is glazed, and how deep the texture is. A glazed porcelain tile normally has a sealed glass-like coating, even when the visible finish is matte. Unglazed ceramic, terracotta, cement tile, and natural stone may absorb liquids more quickly and may require sealing or a cleaner approved for porous materials.
Start by checking the original product box, installation documents, or manufacturer care instructions. If those are unavailable, place one drop of water in an inconspicuous location and observe it for 5 to 10 minutes. A darkened mark or rapid absorption suggests a porous surface, but this test is not definitive and should not replace product documentation.
| Tile condition | Main cleaning concern | Safer starting approach |
|---|---|---|
| Glazed porcelain | Residue in grooves and grout lines | pH-neutral cleaner, soft brush, clean-water rinse |
| Glazed ceramic | Surface wear from abrasive tools | Low-pressure brushing and non-abrasive cloths |
| Unglazed ceramic | Absorption and staining | Manufacturer-approved cleaner and controlled moisture |
| Terracotta | Oils, water absorption, and finish changes | Neutral cleaner with compatible sealer guidance |
| Cement tile | Acid sensitivity and pigment loss | Neutral cleaner; avoid vinegar and strong acids |
| Natural stone | Etching, discoloration, and sealer damage | Stone-specific cleaner; avoid household acids |
I treat a matte glazed porcelain surface differently from an unsealed terracotta floor. A product that is acceptable for glazed porcelain may darken porous clay or leave a film on cement tile. JBN product information may help confirm whether a rustic tile is ceramic, porcelain, glazed, or intended for a specific application, but the care instructions supplied with the installed product should take priority.
A small set of non-abrasive tools is usually sufficient for routine and deep cleaning. I prefer a vacuum with a hard-floor setting, a microfiber mop, two clean buckets, absorbent towels, and a soft-bristle brush for textured tile cleaning. The brush should reach recessed grooves without using stiff metal, abrasive fibers, or excessive pressure.
Choose a brush with flexible nylon or soft natural bristles. For narrow grooves, a soft grout brush can work, but I avoid brushes that feel sharp when pressed against the palm. A white or light-colored microfiber cloth is useful for residue inspection because it makes cloudy cleaner deposits easier to see.
Avoid steel wool, abrasive scouring pads, wire brushes, powdered scouring products, and rotary brushes with hard bristles. These tools can scratch a matte glaze, remove a topical coating, or polish isolated areas so they reflect light differently from the surrounding tile. I also avoid mixing cleaners, especially acidic products with chlorine-based products or ammonia-containing solutions.
The best cleaner for textured rustic tiles is not automatically the strongest degreaser. For routine soil, I select a tile-safe, low-residue, pH-neutral cleaner, usually close to the neutral range of pH 6 to 8, and dilute it according to the label. The goal is to suspend soil so it can be removed during rinsing rather than leave surfactants trapped inside the tile profile.
A pH-neutral tile cleaner for matte finish surfaces is generally the most conservative starting point for glazed porcelain and ceramic tile. It is also a practical first choice when the exact surface composition is uncertain, although porous stone, terracotta, and cement tile may require a material-specific product. I never assume that “natural,” “homemade,” or “chemical-free” means safe for every tile type.
| Soil type | Starting product | Application guidance |
|---|---|---|
| Dust and everyday soil | pH-neutral tile cleaner | Use label dilution and short dwell time |
| Kitchen grease | Tile-safe alkaline degreaser | Patch-test and rinse twice |
| Grout haze | Manufacturer-approved haze remover | Confirm tile compatibility before use |
| Mineral deposits | Material-specific descaler | Avoid on marble, limestone, cement, and acid-sensitive tile |
| Organic discoloration | Tile-safe oxidizing cleaner | Test color stability before treatment |
Vinegar is not a universal solution for matte tiles. Dilute acetic acid may be tolerated by some glazed porcelain surfaces, but repeated use can affect grout, cement tile, terracotta finishes, natural stone, or a compatible sealer. I avoid vinegar when the tile material is unknown, when the surface is porous, or when the manufacturer warns against acidic cleaners.
I begin by removing furniture, mats, loose objects, and surface debris. Then I vacuum slowly in two directions, paying attention to the grooves, grout edges, and transitions where sand collects. Dry removal matters because grit mixed with water can act like an abrasive paste during mopping.
For a small bathroom, I use a soft-brush vacuum attachment around toilet bases, corners, and wall edges. On a kitchen floor, I make a second pass beneath cabinet overhangs and near exterior doors. I do not drag heavy furniture across the floor during cleaning because concentrated pressure can grind particles into the matte surface.
I fill one bucket with warm water and mix the selected cleaner according to its label. I use a second bucket for clean rinse water rather than returning a dirty mop to the cleaning solution. Overconcentrated cleaner does not necessarily improve results; it can increase residue, require more rinsing, and leave dull patches in textured recesses.
Before cleaning the full area, I test a 30-by-30-centimeter section in a hidden location. I allow the product to remain wet only for the label-listed dwell time, commonly about 3 to 5 minutes for routine soil unless the product specifies another period. I stop immediately if the test area changes color, becomes tacky, develops a film, or shows uneven sheen.
I divide the floor into sections of approximately 1 to 2 square meters. I apply enough solution to wet the surface without flooding joints, edges, or porous tile. Keeping the area small prevents the cleaner from drying before agitation and makes it easier to compare the cleaned section with the untreated surface.
Dwell time is part of the damage-prevention system. The cleaner needs enough time to loosen soil, but a product left to dry can concentrate inside grooves and create a stubborn film. I keep the surface visibly wet, follow the product label, and add a small amount of solution if the section begins drying prematurely.
I agitate with a soft-bristle brush using overlapping passes that follow the direction of the texture. I use moderate pressure and let the bristles enter the recesses rather than forcing the brush into the tile. On heavily textured surfaces, I make two short passes instead of one aggressive pass.
For grease near a cooking area, I allow the tile-safe degreaser to work during its stated dwell time before brushing. I do not use a stiff brush to compensate for an unsuitable product or insufficient dwell time. If soil remains, I repeat the controlled application once, then reassess the material and stain type rather than increasing pressure.
After agitation, I remove the dirty solution with a clean microfiber mop or wet vacuum suitable for hard floors. I then rinse the section with clean water, changing the rinse water when it becomes cloudy. This stage is essential because textured grooves can retain cleaner, dissolved grease, and loosened soil even when the surface looks clean.
For floors with deep texture, I use two rinse passes. The first removes most suspended soil, while the second checks whether a sticky or cloudy film remains. I avoid leaving standing water on porous tile, cement tile, terracotta, or unsealed ceramic because prolonged moisture can contribute to darkening and uneven drying.
I dry the cleaned area with microfiber towels or a clean, dry mop, then increase ventilation with a fan or open window. Complete drying helps reveal residue, water spots, and changes in color that may be hidden while the tile is wet. I inspect the surface from several angles under natural or neutral white light.
To check for residue, I wipe a dry white cloth across the grooves and adjacent tile. If the cloth shows a cloudy or sticky deposit, I perform another clean-water rinse rather than applying more detergent. This final inspection is especially important on matte finishes because residue can make the surface look patchy without causing permanent tile damage.
I identify the stain before choosing a stronger treatment. Grease usually responds to a tile-safe alkaline degreaser, while hard-water deposits may require a material-approved descaler. Rust, dye, rubber marks, grout haze, and organic stains each need different chemistry, so I avoid using one product repeatedly when it is not changing the stain.
For glazed porcelain, a manufacturer-approved stain treatment may be suitable after a patch test. For natural stone, cement tile, terracotta, or unglazed ceramic, I use only products labeled for that material and test for color change, darkening, and sealer damage. I never scrub a stain with abrasive powder simply because it is difficult to remove.
Baking soda can be mildly abrasive, so I do not treat it as automatically safe for matte tile. If I test a paste, I use a small hidden area, apply minimal pressure with a soft cloth, remove it promptly, and rinse thoroughly. I discontinue the treatment if the test area becomes lighter, more polished, chalky, or visibly different from the surrounding tile.
Textured tile needs more attention to dry soil removal, brush selection, rinse water, and final inspection. Smooth tile can release suspended soil with fewer passes, while recessed textures may retain detergent and fine particles after the visible surface appears clean. This is why I use smaller cleaning sections and two rinse buckets for textured rustic floors.
Matte tiles are not necessarily harder to clean than glossy tiles, but they can show residue and embedded soil differently. Glossy surfaces reveal streaks and water spots through reflection, while matte textured surfaces may conceal a film inside grooves until it becomes discolored or sticky. Regular dry removal and low-residue wet cleaning reduce that buildup.
Steam cleaning requires caution. I do not use a steam mop on textured rustic tiles unless the tile, grout, sealer, and steam-equipment instructions all approve it. Heat and moisture can affect sealers, porous materials, grout, adhesive systems, and existing cracks, so a conventional pH-neutral cleaning method is the safer starting point for most homeowners.
I vacuum or dust-mop high-traffic floors at least two or three times per week and wet-clean them when visible soil or tracked residue appears. Kitchens, entryways, and bathrooms may need more frequent spot cleaning because grease, minerals, and organic matter accumulate faster in those areas. A full rinse-focused cleaning is usually more useful than repeatedly applying concentrated cleaner.
For bathrooms, I remove standing water and improve ventilation after use, then clean splash zones weekly or as needed. For kitchen floors, I address grease near cooking stations promptly instead of allowing repeated thin films to build inside the texture. If a porous tile is sealed, I follow the sealer manufacturer’s renewal and testing schedule rather than applying a new coating automatically.
The safest answer to How to Clean Textured Rustic Tiles Without Damaging the Matte Finish is to use a controlled sequence rather than aggressive scrubbing. Identify the material, remove dry grit, choose a pH-neutral or material-specific cleaner, keep dwell time within the product instructions, brush gently with the texture, rinse with clean water, and dry the surface fully.
For routine care, I use a soft-bristle brush for recessed areas, a microfiber mop for low-residue cleaning, and a separate rinse bucket to prevent soil from returning to the tile. I patch-test stronger degreasers, vinegar, stain removers, steam, and sealers before treating a visible area. When selecting or reviewing Rustic Ceramic Tile products, I also check the manufacturer’s care instructions and use JBN product information as a reference point for identifying tile categories and intended applications.
Feel free to reach out for any queries. We would be happy to help!
We look forward to working with you.
Navigation
Navigation
Contact Us
Telephone: 0086-757-83327093
E-mail: jbn002@jbnjbn.com
WhatsApp: +86 136 9028 1303
WeChat: +86 136 9028 1303
Address:Building 4, Area B, Ceramics International Trading Center, Jihua Xi Road, Foshan, Guangdong, China
Get in Touch
Get in Touch