05,Oct 2026
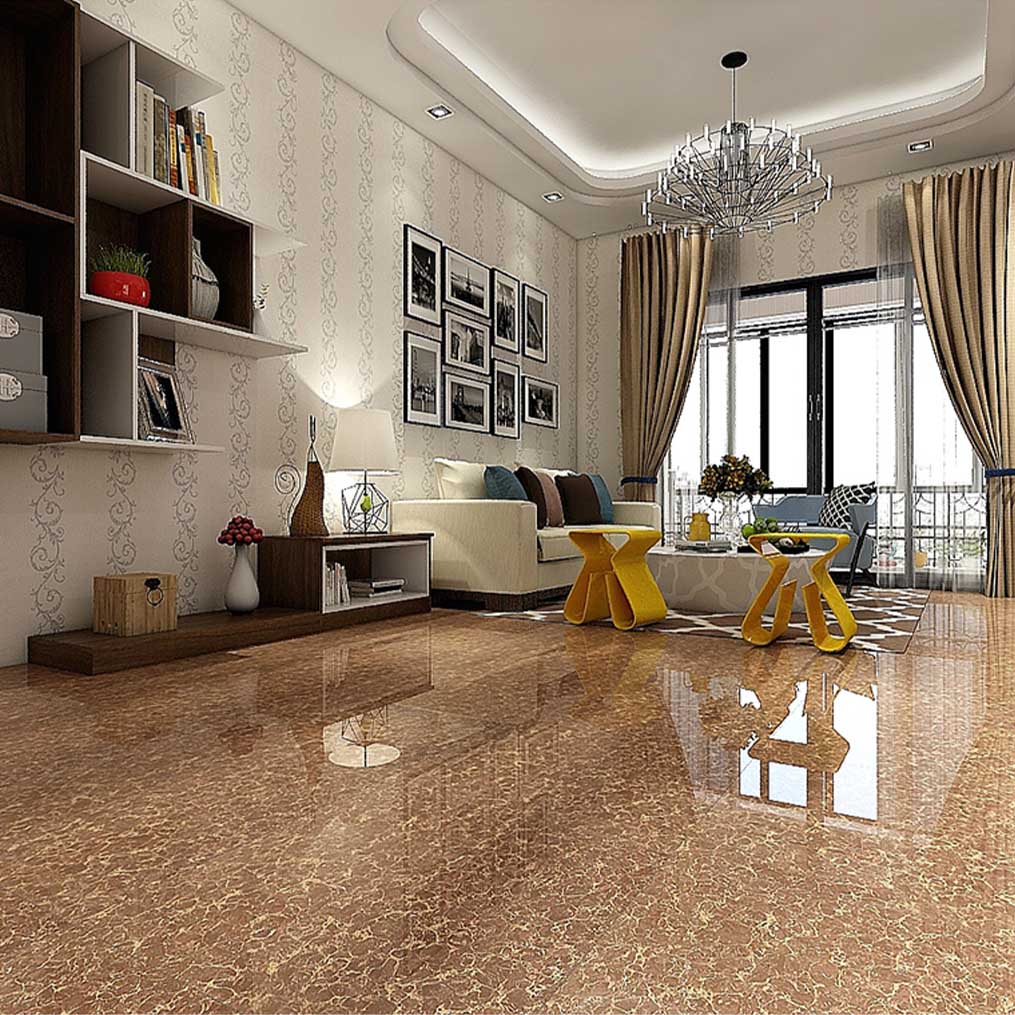
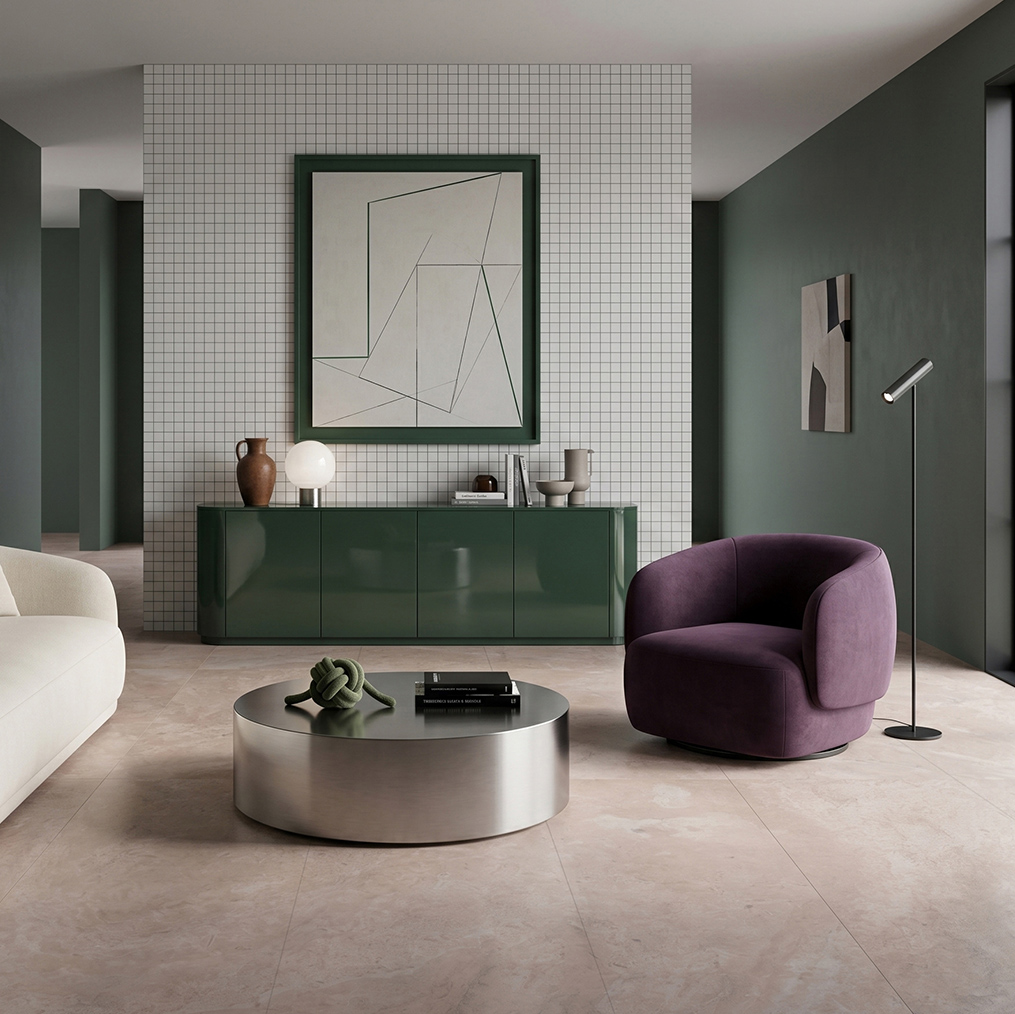
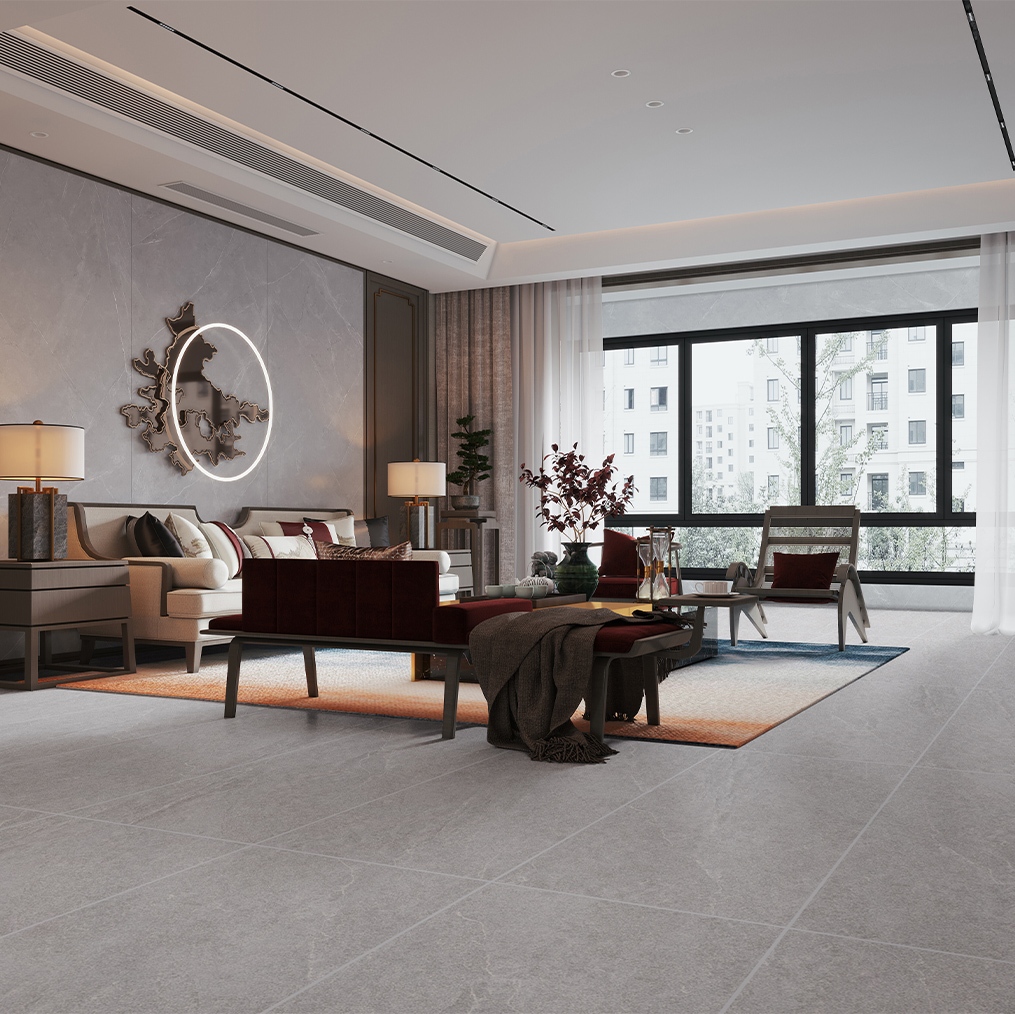
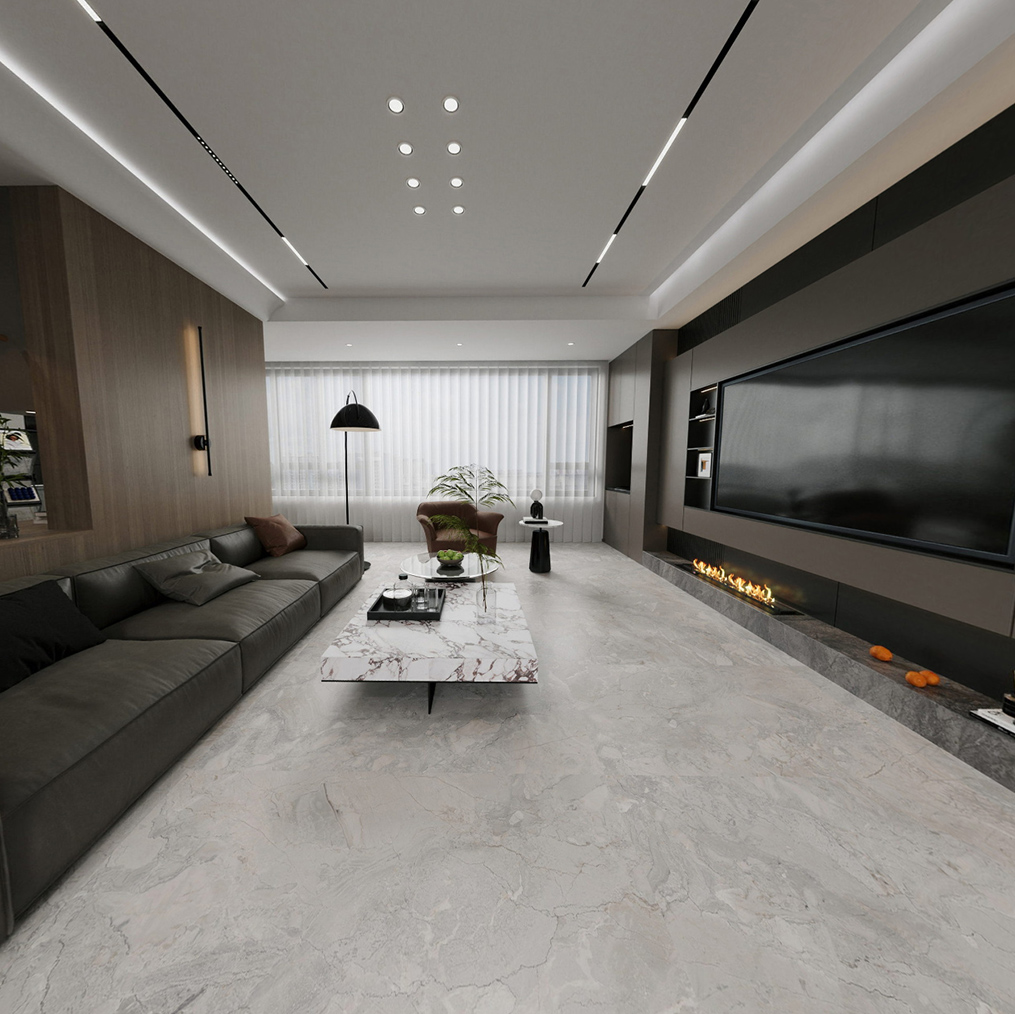
Choosing a Porcelain and Ceramic Tile Supplier is only one part of a successful large-format project. Buyers also need to compare large format porcelain tiles for open plan floors, understand how to install large format tiles on walls, and select large format tiles for small bathrooms according to the substrate and room. Important terms include porcelain slab, rectified edges, low water absorption, lippage, double-buttering, and movement joints. A tile may look economical on a quotation but create costly handling, leveling, or replacement problems if the installation conditions are unsuitable.

Large format tiles can reduce the number of visible joints and create a continuous stone, concrete, or marble appearance. However, size alone does not determine performance. A 1,200 × 600 mm tile, for example, covers 0.72 m², while a 1,200 × 2,400 mm panel covers 2.88 m². The larger panel may reduce grout lines, but it also requires more storage space, stronger handling equipment, tighter substrate tolerances, and a larger installation team.
A comprehensive evaluation should cover five factors:
For procurement, ask an OEM Tile Supplier such as JBN for a technical data sheet, batch information, recommended adhesive class, packaging dimensions, installation guidance, and sample approval. Marketing descriptions such as “premium” or “ultra-strong” are less useful than measurable values and applicable standards.
The most visible benefit is the reduction in grout lines. If a 6 m × 4 m rectangular floor is tiled with 600 × 600 mm tiles, the layout may require approximately 60 full tiles before perimeter cuts and may contain around 18 joint lines in each direction, depending on the starting point and joint layout. Using 1,200 × 600 mm tiles can reduce the number of transverse joints, while a 1,200 × 1,200 mm format can reduce them further.
Fewer joints can make a room look more continuous and reduce the total length of grout that needs cleaning. They do not eliminate maintenance: perimeter joints, movement joints, changes in plane, and grout lines between panels still need to be designed correctly. Joint width should follow the tile manufacturer’s recommendation and the applicable local standard; rectified tiles still require a joint rather than being installed edge-to-edge.
Large tiles can reproduce the visual rhythm of natural stone or poured concrete with fewer interruptions. Rectified porcelain tiles are mechanically finished after firing, which can produce more consistent edges than many non-rectified products. This supports narrow, controlled grout joints when the substrate is flat and the installer follows the manufacturer’s tolerances.
Large formats are available in multiple thicknesses and finishes. Thin gauged porcelain panels may be suitable for selected walls, furniture fronts, and other applications when the product is specifically designed and certified for that use. A thinner panel is not automatically interchangeable with a thicker floor tile. The installer must confirm whether the product is approved for floors, walls, wet areas, exterior exposure, or heavy traffic.
Porcelain tile is generally classified in the United States as ceramic tile with water absorption of 0.5% or less by weight, measured under ASTM C373. This low absorption can be useful in bathrooms, kitchens, and other areas exposed to water. It does not make the entire wall or floor waterproof. Waterproofing membranes, correctly sealed penetrations, sloped shower bases, suitable grout, and properly treated movement joints remain necessary.
Slip resistance also requires a separate check. Water absorption does not predict slip performance. For floors, review the product’s tested slip classification, intended-use guidance, and local regulations. A polished large format tile may be visually attractive but unsuitable for a frequently wet floor if its tested slip performance does not meet the project requirement.
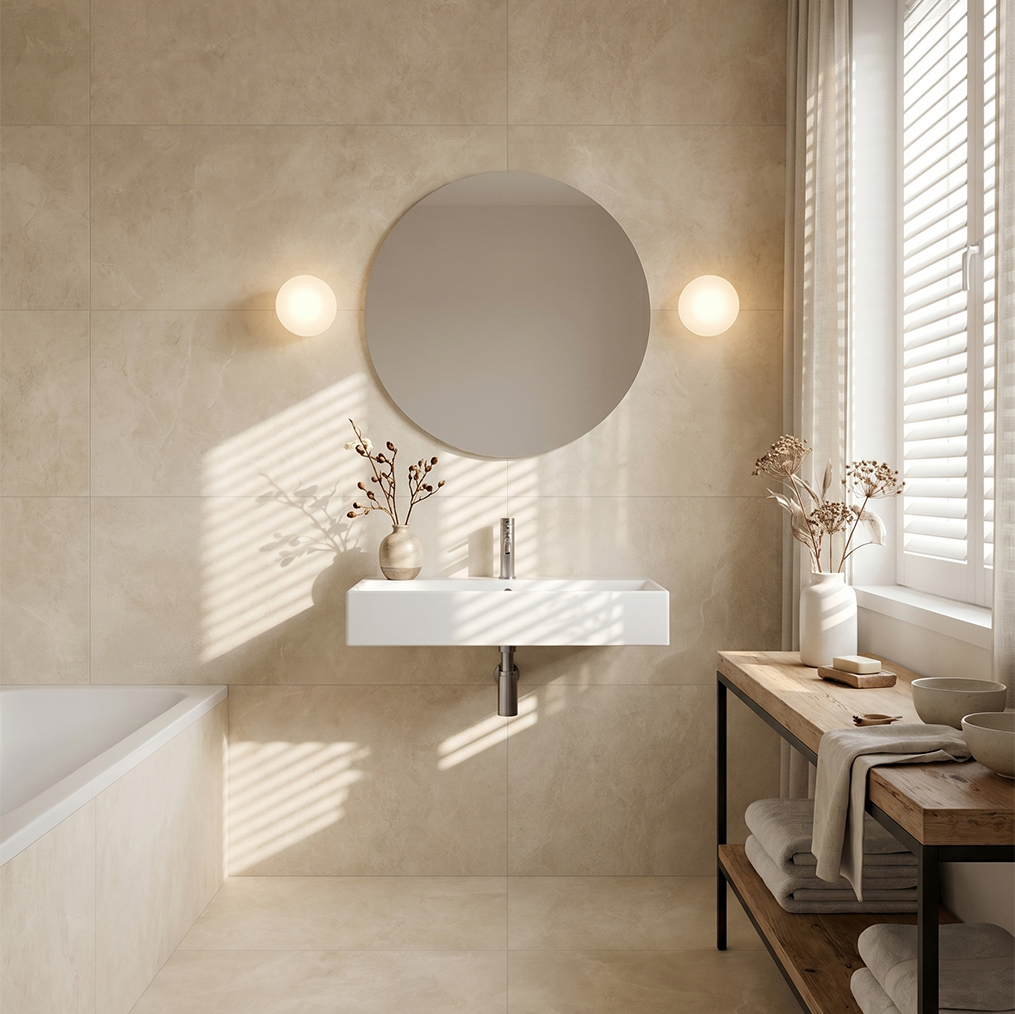
In a compact bathroom, fewer joints can make the walls appear less fragmented. A 600 × 1,200 mm wall tile may span much of a standard shower wall, reducing the number of vertical grout lines compared with 300 × 600 mm tiles. This is a visual benefit, not a guarantee that the room will look larger; lighting, tile color, pattern scale, and layout also influence perception.
Large tiles can simplify cleaning because there is less grout surface. They can also create more demanding cuts around niches, valves, outlets, drains, and corners. Before ordering, prepare an elevation drawing showing the exact tile grid, pipe penetrations, niche dimensions, corner trims, and expected cut positions. This prevents a visually awkward narrow strip at the edge of a wall.
For shower walls, verify that the tile and installation system are approved for wet-area use. The waterproofing layer should be continuous behind the tile and connected to the shower base or tub detail. Tile adhesive and grout are not substitutes for a waterproofing system.
Large panels can reduce horizontal joints, but they are not necessarily easier for one person to install. A 1,200 × 2,400 × 6 mm porcelain panel has a face area of 2.88 m². Using an approximate porcelain density of 2,300 kg/m³, its theoretical mass is about 39.7 kg before packaging. Actual mass varies with thickness, composition, and manufacturer, so the technical sheet must control lifting and structural decisions.
Large tiles are more sensitive to bending during lifting and carrying because their length increases the leverage on the tile. A panel that is supported near its ends can crack if it is flexed, twisted, or struck at a corner. This risk is affected by thickness, cut-outs, transport vibration, temperature, handling technique, and substrate support.
Use a rigid A-frame or manufacturer-approved rack, padded supports, edge protection, and a suitable lifting frame with vacuum cups where specified. Do not carry a large panel flat by one corner. Keep the product in its original packaging until the installation area is ready, and inspect every piece before cutting or fixing it.
Large tiles bridge small high and low spots rather than conforming to them. A high point can create a hollow area below the tile; a low point can prevent adequate adhesive contact. The exact flatness requirement depends on the tile size, tile standard, substrate, and installation method. Many tile installation specifications use tighter requirements for large-format work than for small tile, so the project standard and adhesive manufacturer’s instructions should be checked rather than relying on visual judgment.
Do not attempt to correct major substrate irregularities by applying an excessively thick layer of tile adhesive unless the adhesive is specifically rated for that thickness. Use a compatible patching compound, self-leveling underlayment, screed, or other approved preparation system. Measure the substrate with a straightedge before ordering and record high and low points.
Large formats require specialized tools, including a suitable rail cutter, wet saw, diamond blade, edge polishing equipment, hole saws, and sometimes water-jet cutting. A small error in a sink, outlet, or drain cut-out can waste a tile worth several times the cost of a small-format replacement tile.
Allow for project-specific waste. A simple rectangular floor with a good modular layout may need less extra material than a room with many doors, columns, niches, diagonal walls, or patterned slabs. There is no universal waste percentage. A measured cutting plan is more reliable than adding an arbitrary allowance. For critical projects, retain spare tiles from the same production batch because later batches may differ in shade or calibration.
If one large tile is damaged, replacing it may require removing adjacent grout, protecting nearby finishes, cutting the damaged tile into smaller pieces, removing the adhesive without damaging the substrate, and installing a replacement with matching shade and thickness. The replacement may be difficult if the original product has been discontinued.
Keep unused tiles in a dry, labeled location and record the product code, caliber, shade, batch, and installation date. This is especially important for commercial floors and high-value residential projects.
Concrete must be sufficiently cured and free from contamination. Wood-based substrates, gypsum boards, cement boards, existing tile, and heated floors each have different preparation requirements. Cracks and structural movement cannot be reliably solved by simply adding more adhesive. Use an approved uncoupling, crack-isolation, or movement-control system where appropriate, and follow its limitations.
Moisture testing may be required for concrete slabs, especially before installing moisture-sensitive finishes or systems. The acceptable moisture level depends on the adhesive, membrane, substrate, and local specification. Ask the adhesive manufacturer for the correct test method and limit instead of applying a generic moisture number.
Choose an adhesive rated for the tile type, tile size, substrate, temperature, moisture exposure, and service conditions. For many large-format installations, a deformable cementitious adhesive or a specified ready-mixed or reactive product may be required. The correct product class varies by market; the bag label and technical data sheet should be treated as controlling documents.
Large-format installation commonly uses back-buttering, meaning adhesive is spread on the back of the tile in addition to combing adhesive on the substrate. This is not the same as applying random dabs or “five-spot” blobs. Comb the adhesive in one direction, place the tile while the ridges are workable, and move the tile perpendicular to the ridges to collapse them.
Periodically remove a freshly placed tile to inspect coverage. Wet and exterior applications often require near-complete coverage, while the required coverage for interior dry areas depends on the applicable standard and project specification. The objective is continuous support at edges and corners, not merely a few contact points. Do not exceed the adhesive’s open time, adjustment time, or maximum bed thickness.
Tile leveling clips can help align adjacent edges, but they do not flatten a poor substrate and cannot prevent all lippage. Use the clip size and spacing recommended for the tile thickness and adhesive system. Remove clips in the specified direction after the adhesive has set; striking them incorrectly can damage tile edges.
Maintain movement joints at perimeters, changes in plane, structural joints, and other locations required by the project standard. Do not fill a structural or perimeter movement joint with rigid grout. Use a compatible sealant and backer arrangement where specified. Respect the adhesive curing time before grouting, washing, loading, or exposing the installation to water.
Start with the net floor or wall area, then add measured cutting waste. The basic calculation is:
Required tile area = project area × (1 + waste allowance)
For a 30 m² rectangular room, ordering 10% extra would produce 33 m², but 10% is only an example rather than a universal rule. A room with many penetrations or diagonal cuts may need more; a simple open-plan area may need less. Confirm the quantity in cartons because manufacturers sell by box, pallet, or piece, and rounding up to full cartons can change the final amount.
Also calculate the number of panels that can be safely handled each day. A low material price does not necessarily mean a low installed cost if the project needs extra labor, lifting equipment, substrate leveling, specialized cutting, and additional protection.
Large format tiles are usually worth considering when the design benefits from fewer joints, the room has broad uninterrupted surfaces, the substrate can be prepared to the required tolerance, and the project has qualified installers and appropriate handling equipment. They are often a strong option for open-plan interiors, feature walls, commercial lobbies, and carefully planned bathrooms.
They may not be the best choice when access is narrow, the substrate is unstable, the installation area has many small penetrations, the available labor cannot safely handle the panels, or future spot repairs are a major concern. Smaller formats can be more forgiving on irregular surfaces and easier to replace individually.
The most reliable decision is based on installed cost and technical suitability, not on tile price or showroom appearance. Request samples, approve a layout, inspect the substrate, and complete a test area before committing to a large production order from an OEM Tile Supplier.
Choose large format tiles if you need a low-joint visual effect and can meet the installation requirements. Porcelain is generally preferable for applications requiring water absorption of 0.5% or less, provided the product’s other performance data also match the use. For shower floors, ramps, entrances, and wet commercial areas, prioritize tested slip performance and drainage over appearance alone.
For first-time buyers, a practical specification should include the exact tile size, thickness, finish, shade, caliber, joint width, adhesive system, substrate tolerance, waterproofing method, movement-joint layout, and quantity by carton. JBN and other qualified suppliers should be able to provide product documentation rather than relying only on showroom samples.
Not automatically. Strength depends on body composition, thickness, manufacturing quality, tile dimensions, support conditions, and tested performance. Porcelain’s water absorption classification does not by itself prove higher impact resistance or suitability for every floor. Compare the manufacturer’s test data and intended-use instructions.
There is no universal safe maximum. Weight, panel dimensions, access, lifting height, surface texture, and local workplace rules all matter. A panel weighing approximately 40 kg may require two or more trained workers and a lifting frame, even if it appears manageable in a showroom. Follow the supplier’s handling instructions and occupational safety requirements.
Sometimes, but only after checking that the existing tiles are firmly bonded, clean, flat, dry, and compatible with the new adhesive system. Loose tiles, hollow areas, wax, grease, excessive height, and movement must be addressed first. The added thickness may also affect doors, drains, thresholds, and fixtures.
Yes. Large tiles should not normally be installed edge-to-edge. Grout joints accommodate manufacturing variation and help create a maintainable finish. Perimeter and movement joints are separate details and should not be replaced with ordinary cement grout.
Common causes include substrate movement, inadequate support, poor adhesive coverage, excessive deflection, incorrect handling, unprotected movement joints, point loading, and cracks already present in the substrate. A visual inspection alone cannot identify the cause. Check the installation records, substrate condition, adhesive coverage, and product handling history.
Not necessarily. Polished surfaces can have different wet slip characteristics from textured or matte surfaces. Review the product’s tested slip classification and the local requirements for the specific bathroom floor. A tile suitable for a dry feature wall may not be suitable for a shower floor.
Calculate waste from the actual layout rather than using a fixed percentage. Include perimeter cuts, pattern matching, damaged pieces, future repairs, and carton rounding. Keep spare tiles from the same shade and caliber in a dry, labeled location.
In practical terms, the best large format porcelain tiles for open plan floors are those whose tested performance, layout, substrate, and handling plan work together. For how to install large format tiles on walls, prioritize safe lifting, full adhesive support, waterproofing, and movement joints. When comparing large format tiles for small bathrooms, weigh fewer grout lines against difficult cut-outs and repair access. A documented specification from JBN or another capable OEM Tile Supplier is more dependable than a purely visual product comparison.
Feel free to reach out for any queries. We would be happy to help!
We look forward to working with you.
Navigation
Navigation
Contact Us
Telephone: 0086-757-83327093
E-mail: jbn002@jbnjbn.com
WhatsApp: +86 136 9028 1303
WeChat: +86 136 9028 1303
Address:Building 4, Area B, Ceramics International Trading Center, Jihua Xi Road, Foshan, Guangdong, China
Get in Touch
Get in Touch